Hi everyone! Living in the northeast is wonderful for all the changes in the seasons. However, winter can be rough and this year is no exception. We've had a few snow storms and temps in the single digits, so we need to dress in layers!
Here is the storm we had yesterday and another big one on the way Wednesday!
In a house with 5 adults, winter attire is everywhere. Here's where we store all the must haves…
Come on in for a few organizing tips.
Showing posts with label labels. Show all posts
Tuesday, February 4, 2014
Saturday, October 26, 2013
Organizing...My Label Maker
Hi everyone. First, I want to thank all of you for stopping by my sewing room post this week and for your kind words. I just love sharing my ideas with all of you and I hope the post will be helpful.
In that post and other posts I've done over the years, I always say "label, label, label". Having things marked and labeled with what's inside is the key to organization and saving time and money. If you know where something is, that saves you time and frustration. It also saves you money, because you are not purchasing the same item again when you can't find it.
I use many different ways to labels things...sheets of Avery labels you can buy in an office supply store and print them on your computer, just print a label on paper and cut it out (like this week's post on labeling plastic containers), or write out your own label on tape etc.
However, my favorite and the fastest way to label something is with a label maker.
This is my P-Touch 1700 label machine made by Brother. I have no affiliation with this company...just want to share.
Come on in and see some of the features.
In that post and other posts I've done over the years, I always say "label, label, label". Having things marked and labeled with what's inside is the key to organization and saving time and money. If you know where something is, that saves you time and frustration. It also saves you money, because you are not purchasing the same item again when you can't find it.
I use many different ways to labels things...sheets of Avery labels you can buy in an office supply store and print them on your computer, just print a label on paper and cut it out (like this week's post on labeling plastic containers), or write out your own label on tape etc.
However, my favorite and the fastest way to label something is with a label maker.
This is my P-Touch 1700 label machine made by Brother. I have no affiliation with this company...just want to share.
Come on in and see some of the features.
Monday, January 28, 2013
Blogging Tip...Adding Blog Labels
Thought I would share a quick blogging tip with you about labeling your blog posts. I think blog labels are so important for your readers, because they make it easier to find older posts, tutorials or projects.
Readers will come back to your blog and remember you had the best recipe for chocolate cake, but they really don't have the time to scroll through your entire blog looking "that" certain post. If you have labels on your side bar, all they have to do is click on "Recipes" or "Chocolate Cake" and tah dah...they've found it. Your readers will love you if you have Labels!!
So let's get started....
Readers will come back to your blog and remember you had the best recipe for chocolate cake, but they really don't have the time to scroll through your entire blog looking "that" certain post. If you have labels on your side bar, all they have to do is click on "Recipes" or "Chocolate Cake" and tah dah...they've found it. Your readers will love you if you have Labels!!
So let's get started....
Adding labels to your blog
Go to your dashboard and click LAYOUT
Wednesday, November 7, 2012
Make Your Own Christmas Address Labels...Picture Tutorial
It's that time of year where we need to start writing our Christmas or holiday cards soon. Christmas cards can be a long process...writing your Christmas wishes on the inside, including a picture or newsletter and then filling out the envelope.
You can make that last step of writing out the envelopes a little easier by printing your own address labels for each person and making your own return address labels too.
Tuesday, October 30, 2012
Tool Time Tuesday...Plant Markers To Project Markers
Welcome to another Tool Time Tuesday...where we take one thing and use it for something else.
It's the end of October and, in some parts of the world, the gardens are coming to an end. Some of you may use plant or row markers in your gardens. Plant markers can be made out of anything, but I found this package at the Dollar Tree.
Five plant markers and the erasable pen came with it...all for $1.00.
Well, you know I won't be using these in the garden. So, let's see how they can help in the craft room.
It's the end of October and, in some parts of the world, the gardens are coming to an end. Some of you may use plant or row markers in your gardens. Plant markers can be made out of anything, but I found this package at the Dollar Tree.
Five plant markers and the erasable pen came with it...all for $1.00.
Well, you know I won't be using these in the garden. So, let's see how they can help in the craft room.
Monday, May 14, 2012
Make Your Own Handmade Fabric Labels...
I know we are all "Do It Yourselfers", so when we make things for others as gifts or to sell, why not have your own fabric label to add to what ever you make.
Here's a quick tutorial on how to make your own fabric labels, but you can certainly add your own special touch to them too.
You will need:
Here is my attempt at a "Sew Many Ways" label.
Here's where the idea first started over 3 years ago. Remember my daughter Courtney's high school senior project? It was a Underground Railroad quilt. If you look in the lower right corner, I showed her how to make a label describing all the blocks in the quilt. This is the same process.
Here is a picture of freezer paper. Dull on one side, shiny on the other. You will use this to stabilize the fabric as it goes through the printer. The shiny side is perfect for ironing on fabric and it is re-usable over and over. I also use freezer paper for English Paper Piecing my hexagons.
Iron the shiny side down on the wrong side of the fabric. Don't let the iron touch the shiny side!!!
Trim paper/fabric to 8 1/2 inches x 11 inches.
Fabric on one side, paper on the other.
I used Mircrosoft word to print what I wanted...experiment with your own computer.
I printed towards the bottom of the label, so I can fold it over...see below.
Iron the whole sheet to "set" the ink.
Cut out and just peel off the paper.
I folded over the side edges.
and then folded in half.
Perfect little label ready to sew into a seam.
If you want a flat label that can be permanently ironed on, instead of folding like I did, just iron the label to permanent fusible web, like Heat and Bond. Then the label can be ironed onto your item.
Have fun experimenting,
~Karen~
Here's a quick tutorial on how to make your own fabric labels, but you can certainly add your own special touch to them too.
You will need:
- fabric...I used 100% cotton muslin
- Freezer paper...found in the grocery store in the aluminum foil section
- computer and printer
Here is my attempt at a "Sew Many Ways" label.
Here's where the idea first started over 3 years ago. Remember my daughter Courtney's high school senior project? It was a Underground Railroad quilt. If you look in the lower right corner, I showed her how to make a label describing all the blocks in the quilt. This is the same process.
Here is a picture of freezer paper. Dull on one side, shiny on the other. You will use this to stabilize the fabric as it goes through the printer. The shiny side is perfect for ironing on fabric and it is re-usable over and over. I also use freezer paper for English Paper Piecing my hexagons.
Iron the shiny side down on the wrong side of the fabric. Don't let the iron touch the shiny side!!!
Trim paper/fabric to 8 1/2 inches x 11 inches.
Fabric on one side, paper on the other.
I used Mircrosoft word to print what I wanted...experiment with your own computer.
I printed towards the bottom of the label, so I can fold it over...see below.
Cut out and just peel off the paper.
I folded over the side edges.
and then folded in half.
Perfect little label ready to sew into a seam.
If you want a flat label that can be permanently ironed on, instead of folding like I did, just iron the label to permanent fusible web, like Heat and Bond. Then the label can be ironed onto your item.
Have fun experimenting,
~Karen~
Tuesday, March 13, 2012
Tool Time Tuesday...Tile For Labels
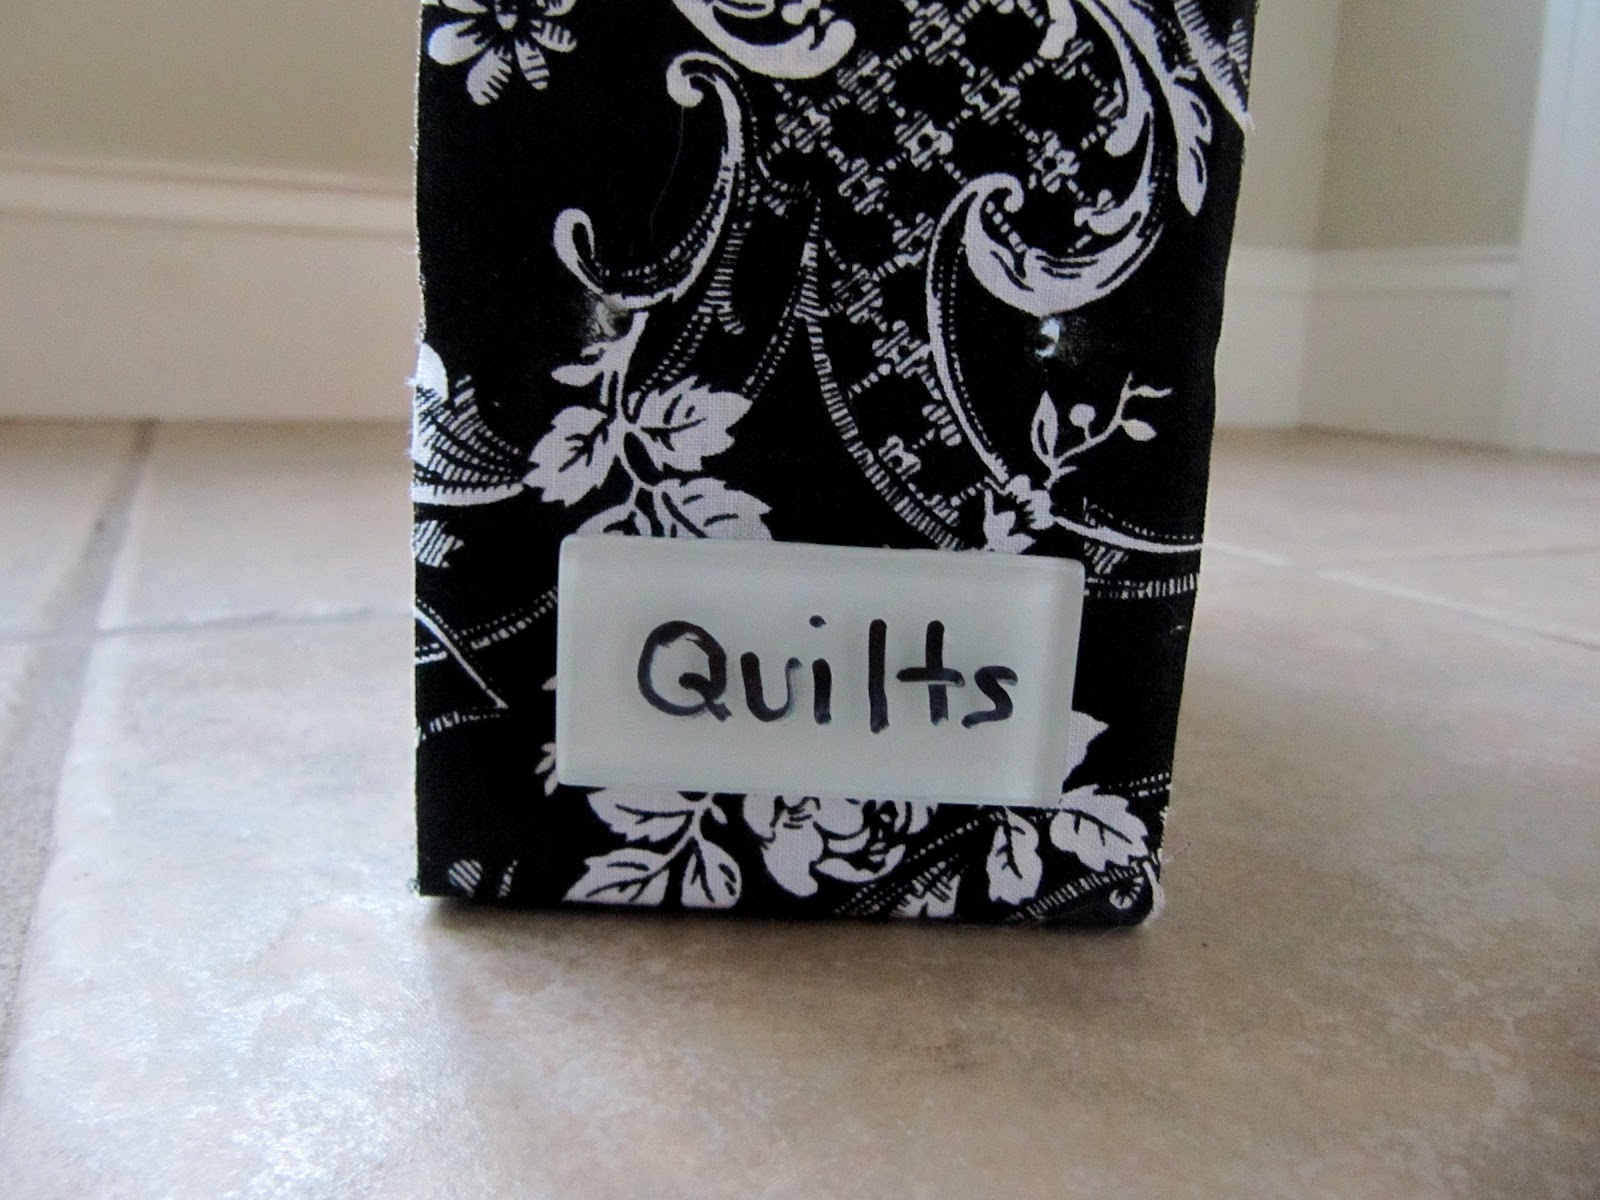
Happy Tuesday everyone. If you've read any part of my blog, you know I love to organize and label everything. When I see those organizing boxes or containers in the store, I love the little metal plates or frames that hold the label for what's in the box.
However, I usually make my boxes or containers from recycled things...I still like them to be labeled though. You can buy those little frames, but they are expensive.
Here's my solution!! TILE...I found this sheet of glass like tile in the clearance section for a $1.23 at Home Depot. However, the regular price is $4.97. Not bad either way for 66 tiles. ( you just counted didn't you? Lol )
These are rectangle...perfect for making labels. I also bought the square version of these a while back. CLICK HERE for the post on how to make magnets out of them.
Aren't these pretty...very glossy and shiny. They come in a ton of colors and textures too.
The tiles come on a mesh backing of one square foot...when you are using it for tiling. However, we are crafting here!!
Just pop those babies right off that mesh.
You see tiles...
and labels...
and now you see pretty tile labels!!
They are also great for writing your own with a marker. Wipes right off if you want to change it.
The type of glue depends on the surface you are gluing the tile to. You can use hot glue, Gorilla Glue, E6000 etc.
Let's see how we can use these.
Labeling fresh herbs...
Nail polish bin for my daughters...actual nails and screws for me!! Just add a little hammer.
Makes those cheap plastic bins a little cuter.
How about your pantry...label food, snacks and baking ingredients.
and this one is my favorite...magazine holder tile.
Remember I made these out of old cereal boxes? Painted the sides black and Mod Podged a strip of fabric on the front.
You can also add the handle to the box too. You know I love my pipe straps for handles.
These are pipe straps found in the electrical section. They hold up conduit pipe on walls or ceilings. I use them for handles on everything. Very cheap. I think 10-12 for $2.75.
Take a trip down the tile isle...it's fabulous, especially if you're only buying one sheet verses 400 square feet of it!!
Happy Tool Time,
~Karen~
Monday, November 21, 2011
Address or Gift Label Tutorial...
You all know I love labeling everything....everything!! If you stand around too long at my house, you might leave with a label on your tuckus.
Avery labels are my favorite and now they come in the best shapes ever. They have the brown paper look in round, oval and square...great for your craft business. Check your local office supply or the Avery website. I have no affiliation with Avery...I just love them. They make business cards too.
These are a few of the ones I use. They're great for...
- address labels...especially for all those Christmas cards coming up!
- return address labels
- gift tags
- organizing labels
Here's a quick tutorial on how to use Microsoft Word to make labels. Mine is 2007 on my computer, so things may be a little different on yours. The process is the same...just the buttons might be in a different place.
When you open up Word, a new page will appear like this. Click on the word MAILINGS...circled in red
Then click the LABELS button.
A window will pop up. Click the word OPTIONS.
Another window will pop up and you will scroll for the corresponding number that matches the number on the label that you have purchased. My address labels are #5160.
When you're done, click the OK button.
Now click the NEW DOCUMENT button.
and the template that matches your labels will appear.
If you want to have your print center in the label, click the LAYOUT button and then click the CENTER button. It doesn't say center...it just has lines centered in the middle for the top and sides. It's circled in this picture on the right.
Now you can go back to the HOME button and play around with fonts and letter size.
just left click and drag to high light when changing a font or font size.
Not sure about your printer, but mine has to have the labels go in upside down in the paper tray. Practice with plain paper before you waste the sheet of labels.
Hope this helps during the upcoming holiday season. You can use these for so many things this time of year.
If you make out your Christmas card list, you can type in all the address labels and save it on your computer and then just print it out each year.
Have a great day,
~Karen~
Subscribe to:
Posts (Atom)