Showing posts with label English paper piecing tutorial. Show all posts

Friday, May 8, 2015

English Paper Piecing...Cutting Paper and Fabric

Hi everyone! I'm back from yesterday's English Paper Piecing post about how to sew the hexagons together. You can click HERE if you missed the post. I had lots of questions and emails about how to cut the paper and the fabric, so here is another post I put together today. I hope this helps!!!

As with any project, there are many ways of doing something. The ideas I'm posting here are just a few of the different methods I've used over the years for cutting the freezer paper and the fabric. Technology has made things a little easier with hand held paper punches and electric die cutters, but I'll also show you a simple way to cut the hexies with a cardboard template.

Cutting the Paper Hexagons...


Types of paper

  • freezer paper (my favorite)
  • card stock
  • recycled envelopes
  • and those annoying magazine inserts finally have a purpose


Types of cutters

  • accuquilt die cutter
  • Fiskars hand held paper punches (found in the scrapbooking section of any craft store or online)
  • store bought plastic template for rotary cutter
  • print template from free online source and make one from cardboard to plastic template

Here are the types that I have used.


english paper piecing

Come inside for lots of pictures and steps for each method.

Thursday, May 7, 2015

English Paper Piecing, Freezer Paper, Hexie Sewing Tip...

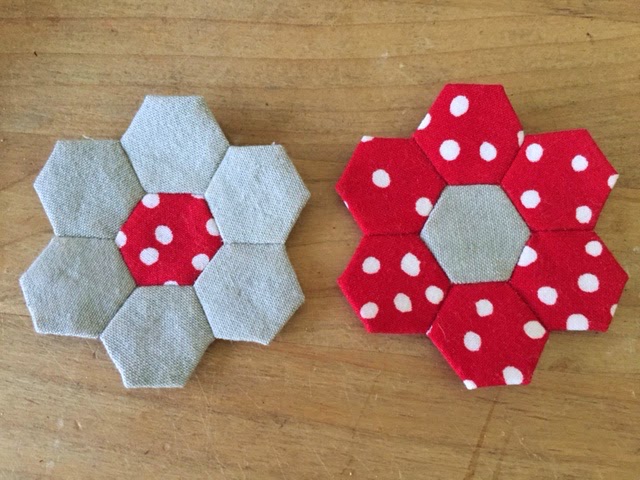
I know that title is a little long, but I needed to get it all in! I've been sewing hexagons for over 15 years. I use the English Paper Piecing method of hand sewing. With EPP, you use some kind of paper as the foundation to shape the hexagon. I started with freezer paper and haven't changed since.

epp hexie tips

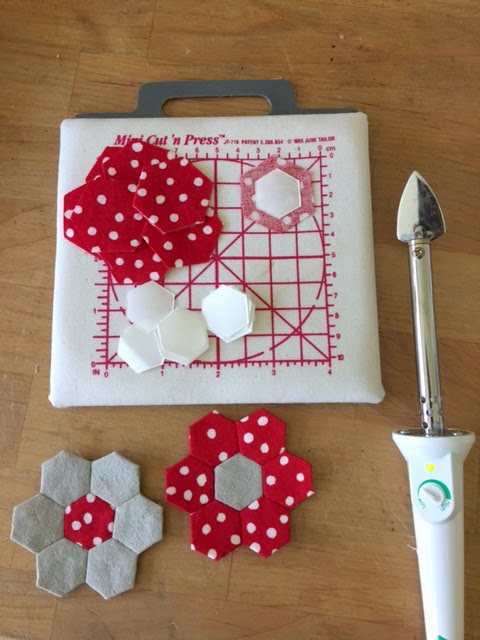
I wanted to share this little tip with you for ironing on the freezer paper...

A Mini Iron!!

epp hexie tips

Come in to see more tips and tricks and an EPP tutorial...

Wednesday, January 15, 2014

New Accuquilt Go Dies…Hexagon English Paper Piecing Tutorial

Hi everyone! Over 4 years ago, I received an Accuquilt Go Fabric Cutter and die sets from the wonderful people at the Accuquilt Company to try and see how I liked it. Well, I just didn't like it…I LOVED it and still do. It's fast, accurate and so easy to use. It is a permanent fixture in my sewing room and I have bought several new dies for it my self over the years.

If you are not familiar with the Accuquilt Go! Fabric Cutting system, it is a portable unit with rollers and manual handle. The dies are shapes set in foam with the blades or cutters hidden in the foam. You place the fabric on top of the die, cover with a cutting mat and send it throughout the rollers. In a matter of seconds, your fabric shapes, strips or patterns are cut for you. Fast and easy.

Well, a few months ago Ellen, from Accuquilt, contacted me again to try their new set of dies. They are amazing...so many new shapes and sets that every quilter will love. They are familiar, traditional shapes and patterns that would normally take so much time to cut, even with a rotary cutter. At the time I received all the dies, my schedule was crazy and then the holidays came in full force, so I haven't had the time until now to play with them. I'd love to share them with you today!

Here are all fabulous new dies…


The half hexagon, hexagon and the equilateral triangle all have 4 1/2 inch on the sides, so they will all coordinated and go together to form more patterns and quilt designs!


Come on in to see all the dies and today's tutorial for the English Paper Piecing...

Wednesday, August 18, 2010

English Paper Piecing Tutorial...

I have "HA"...Hexagon Addiction, so I thought I would get you hooked too!! I know I've done an English Paper Piecing tutorial before, but it's even easier with the Accuquilt Go cutter because it cuts all the fabric for you.


I used the smallest hexagon, but if you use the larger hexagon, the quilt will go together faster because of the bigger size.


I already had these squares cut in my scrap pile from past projects.


Cutting mat on top...


then just roll it through Accuquilt machine.


Fast and accurate!


Now we're going to make a Grandmother's Flower Garden using the hand piecing method called English Paper Piecing.


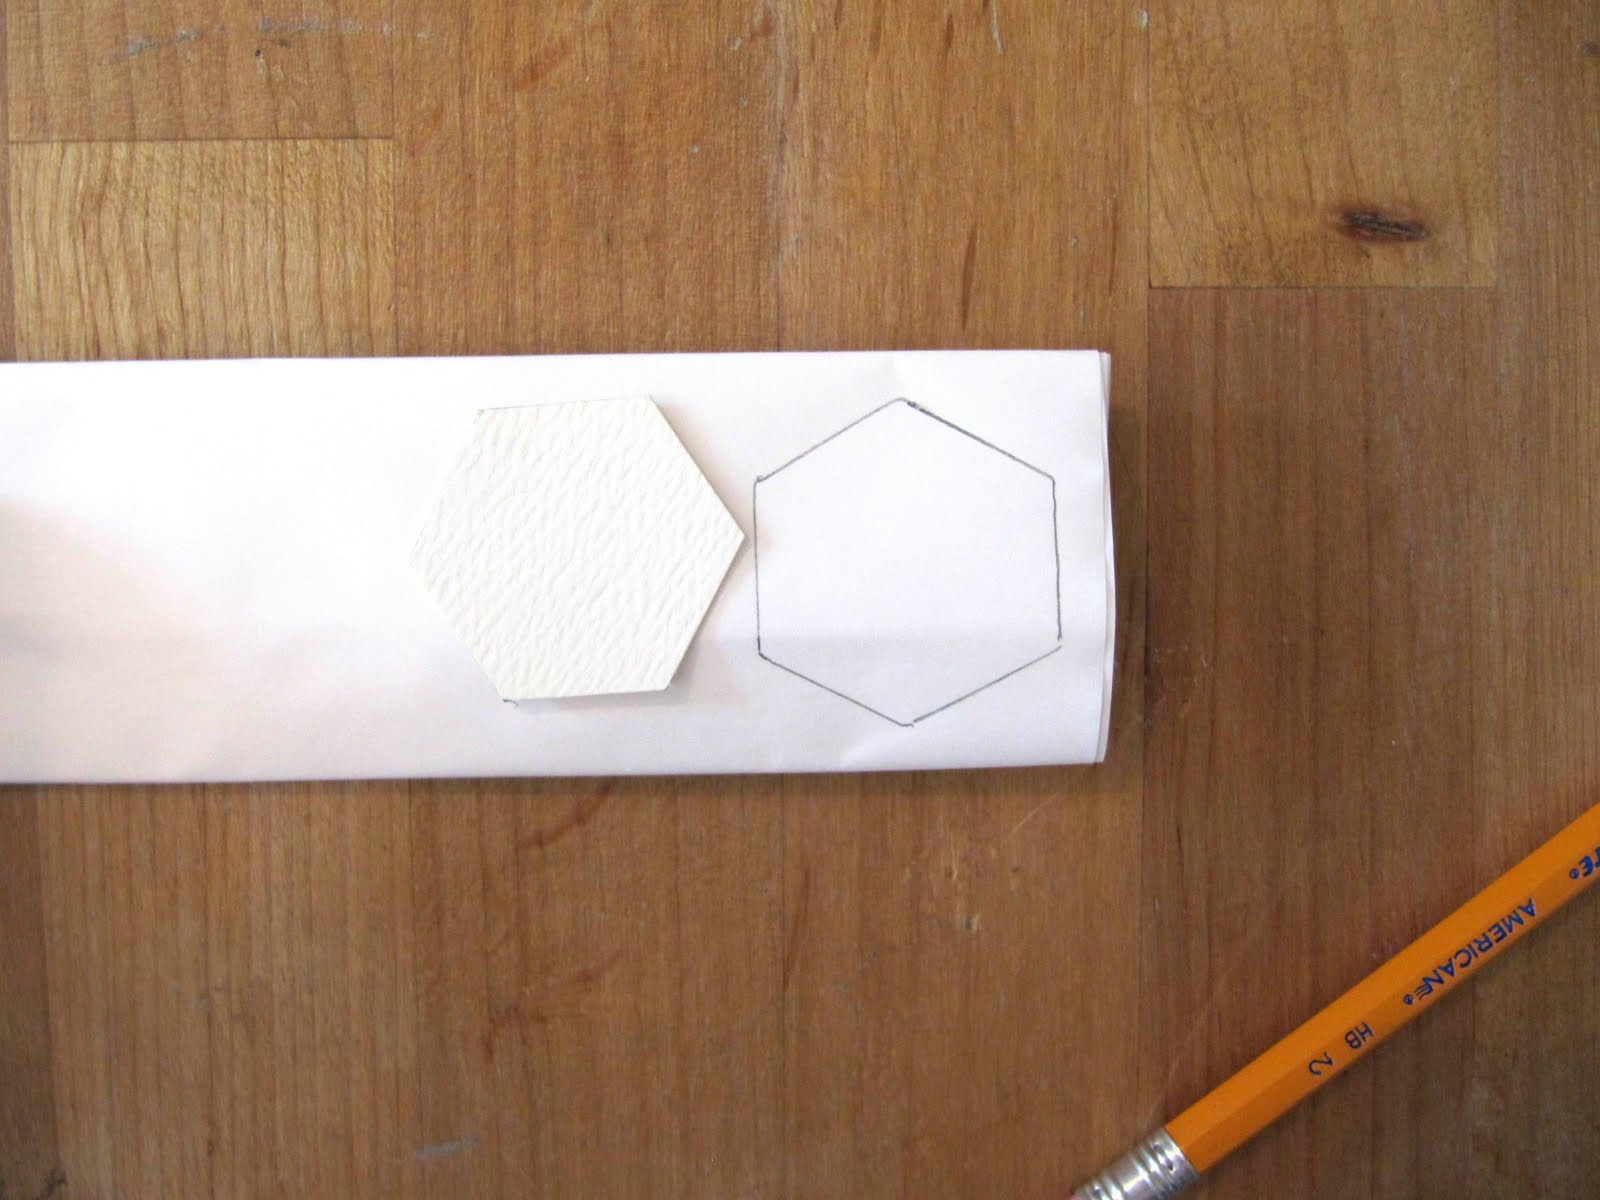
First you need a template to make the papers that you'll be using. Trace a hexagon on card stock.


Cut it out.


The paper pieces have to be 1/4 inch smaller all the way around, so place your quilt ruler on the edge and draw a pencil line.


Keep moving around the hexagon, drawing the pencil line a 1/4 inch from the edge.


until it looks like this.


Now trim all the edges away on the lines.


Here's the final template for the smaller hexagon.


You will need several papers to work with, so use this main template to cut all the rest.


There are so many papers you can use: old mail, magazine inserts, envelopes, but I love freezer paper.


Freezer paper can be found in the aisle where they sell aluminum foil. It is amazing for applique too. Freezer paper has a unique quality that it can be ironed on fabric (shiny side down on the fabric). It's used for stability, but just peels right off and can be re-used over and over again.


To make the hexie papers, just fold a piece of freezer paper like an accordion.


Trace the hexie shape.


Staple each hexie, so the papers don't move while cutting.


This next step with a hole punch is optional.


If you punch a hole in the papers, you can use a little pick or stick to pop out the papers at the end when you are done sewing.


Cut them apart and remove the staples.


See this shiny side...that has to be ironed shiny side down on the wrong side of your hexagon. If you iron it the other way...you'll hate me and so will your iron!!


Center it on the wrong side of hexagon and iron it down.


All set to sew.


Fold over one edge of the fabric.


then fold over the next edge over that to form a mitred fold.


Now take your needle, with knotted thread and take up the fabric at the corner where it over laps.


Here's the most IMPORTANT part. Do not let the needle go through to the right side of the fabric, just take up the fabric on the back side. If there is no thread on the front, you will save thousands of hours pulling the thread out like it's done in the original method.


Pull til knot is secure.


Now take up another little stitch in the same place...


to form a loop.


Pull slightly to secure.


Now move over to the next corner, fold over the edge and repeat the small stitch again.


Go through fabric again, but not to the front...


form the little loop...


and secure with a little tug.


See, all the threads are on the back.


Not the front. Nothing to pull out later. Yahoo!!!


Here's a mini flower all set to sew together.


Here's the back. Don't take the papers out until all side of the hexagon are sewn to another hexagon. You need the papers in there for support and stabilizing.


Here are the steps to sew the flower together: Take the middle hexie (yellow) and one of the petals right sides together.


and hand sew with a whip stitch across the edge, just taking up a little of both hexagon fabrics as you go. I used red thread so you could see, but use a thread that matches so it won't show through to the front. Knot, but don't cut the thread.


Open up the 2 that you just sewed together...


Add another purple hexie and sew up on the side where I'm pointing.


You'll need to place the new petal right sides together.


Now take the thread that is still attached and start whip stitching that side.


Stitch to the end , knot and cut the thread.


Open up that new petal.


Add the third petal and sew across that bottom and up to the right where I'm pointing.


Each line of stitching follows this pattern


and here's the last section.


Tah Dah...this process is alot faster than it looks in this tutorial. You know me...I love taking pictures of every step! Keep making hundreds of these in different fabrics and sew them together into an heirloom quilt.


This is a small one. Another version of the Grandmother's Flower garden can be seen here. It has another row of petals and then a path of green or another color.


Here's a picture of the back all stitched up.


If you're not into making a large quilt, you can take two of these flowers and place them right sides together...


I used one red flower and one off white flower here.


Whip stitch the outside egde all the way around. Leave on opening to turn it right side out.


Stuff it for a reversible pin cushion.


Add a ribbon for an ornament or loop a key ring on the ribbon for a cute little key chain for a sewing friend.


I hope you'll give paper piecing a chance. It's great to keep little baggies or small sewing kits of these petals and flowers in the car, in your purse or any where you'll have a few extra minutes to do a little hand sewing. How about your child's dance practice or sporting game, how about in the car on a long trip ( I have to take motion sickness pills to sew in the car, but it works for me!) I also sew in the doctor's waiting room...any where you can steal a few minutes.

This is such a wonderful, relaxing hobby. You really should give it a try. Do a google search for images of Grandmother's Flower Garden and get inspired to start one of your own.

See you soon,
~Karen~

Pin It
Related Posts Plugin for WordPress, Blogger...

LinkWithin

Related Posts with Thumbnails