I wanted to share this little tip with you for ironing on the freezer paper...
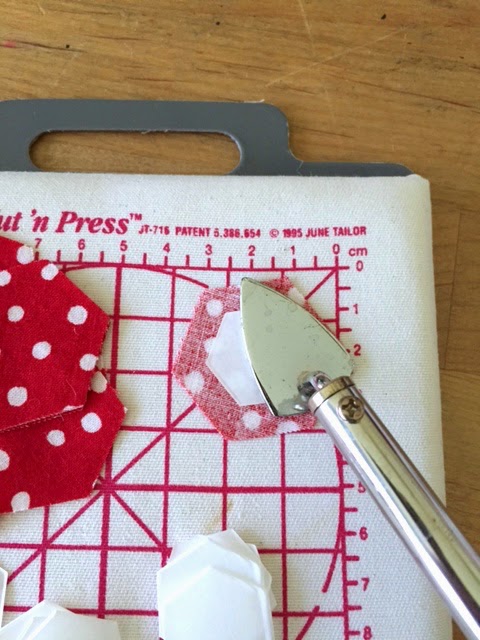
A Mini Iron!!
Come in to see more tips and tricks and an EPP tutorial...
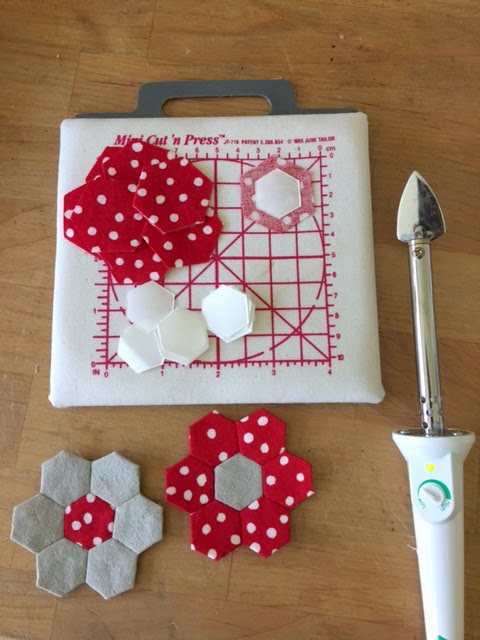
I've had this mini iron and press board for years and finally found a use for them with my hand sewing.
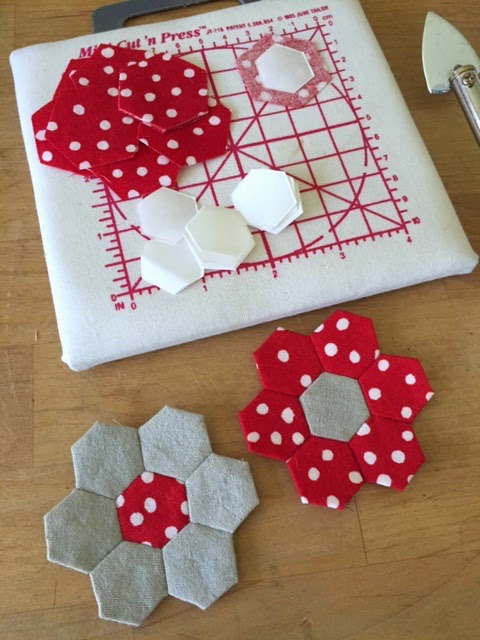
The mini Clover iron is the perfect size to iron on the freezer paper with the mini board right where I'm sewing, which is usually on the couch!!
Freezer paper is found in the grocery store where wax paper is sold. It's about $4-$5 for a very large roll.
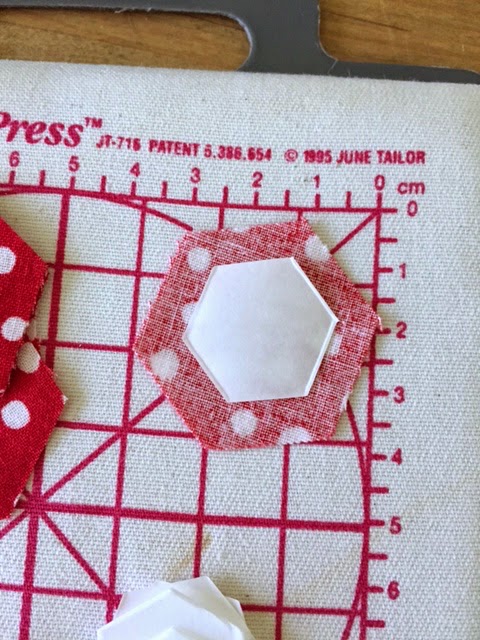
It's double sided. The shiny side is what sticks to fabric. It doesn't harm the fabric and can be removed and used over and over again.
You MUST iron the shiny side down on the wrong side of the fabric. Shiny side towards your iron will get all sticky.
This is the best part with the mini iron. I can now do it wherever I'm sewing!!
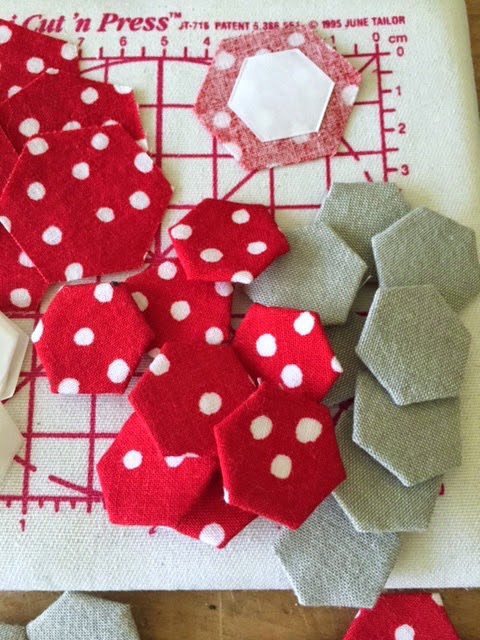
Sticks right to the back of the fabric.
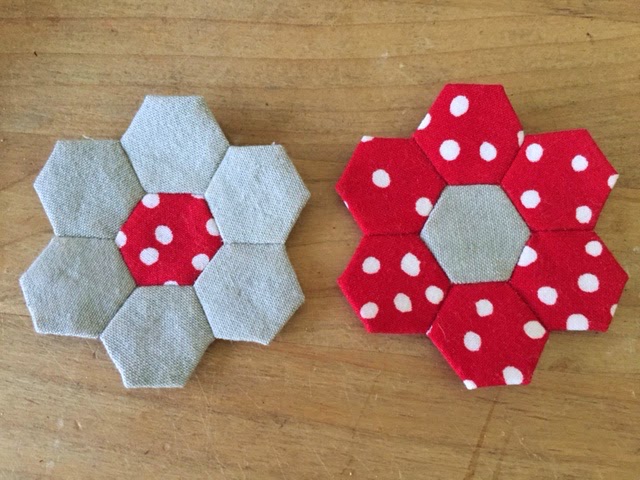
Pile of hexes all ready to be sewn into flowers!!
I love all things polka dot!!
Does this one look familiar? It's my blog logo!!
If you don't know how to sew hexagon flowers together, I've done a few posts on it in years past. You can click on my older posts in my side bar under English paper piecing.
I copied and pasted one of them below. It just so happens it's the red and white polka dot!!
Paper Piecing Tutorial…
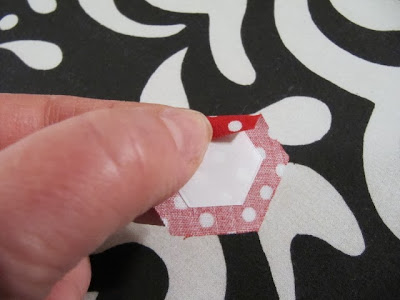
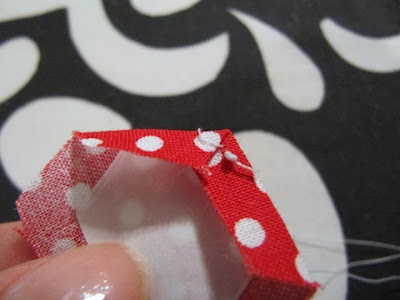
Then fold over the next edge, holding them in place.
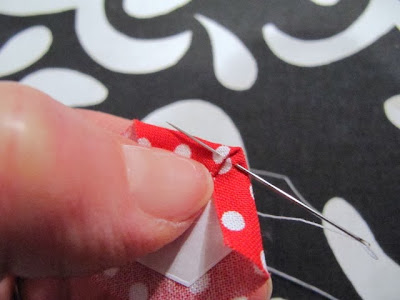
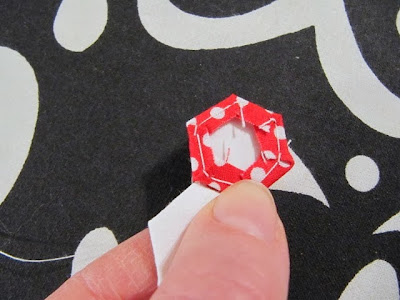
Thread your needle and knot the end. Take a small stitch and back stitch again to anchor the corner where the 2 edges overlap…at that mitered corner.
One corner done.
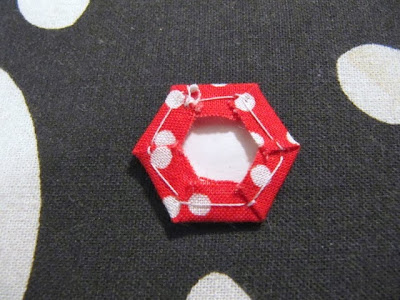
Fold over the next flap of fabric and stitch again.
With each corner that you stitch, you are keeping the thread on the wrong side of the fabric. DO NOT stitch through to the front.
When you are done, each overlapping corner will be stitched down and the thread will be across the fabric on the wrong side.
The old way of doing this was to stitch through the paper, to the front to anchor the seams down. However, when you were finished sewing all the hexagons and then sewing them together into a quilt, you had to pull out all the basting stitches that were showing on the front. Not fun.
This way the stitches all stay on the back and you DO NOT have to pull anything out!!
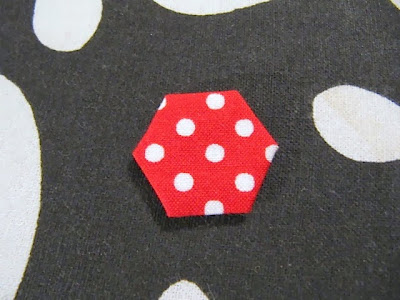
Isn't it so tiny?
and so cute!!
Here's the back side of all the basted hexies. You will keep the papers on until you have sewn all the petals together. You can punch a hole in the paper first, if you'd like, to use a skewer to pull the paper out. I just reach in and peel the paper away.
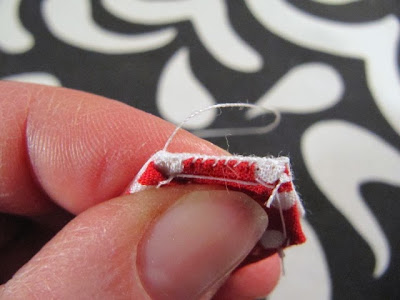
To sew the petals together, place them right sides together and take tiny whip stitches across, just taking up a little fabric without going through the paper.
Stitch all the way across.
Open it up. Don't cut thread. You will keep going.
Add another hexagon petal to the flower, right sides together...
and sew following the arrows. I opened up the petal again just to show you the direction to sew. The third arrow towards the left is when you would add on the next hexie.
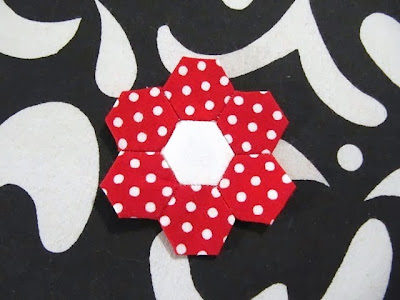
Keep adding petals until your hexagon flower is done!!
You can cut another coordinating fabric and sew another row of 12 hexagons on to this flower to make this little flower bigger.
Hope these tips and tricks make your hexie sewing a little easier!!
Thanks for stopping by,
~Karen~














Great tutorial! Thanks verry mutch.
ReplyDeleteKaren, how do you cut out your freezer paper hexagons? Do you use a punch? Or a roller cutter such as Accuquil ?
ReplyDeleteAnd same question for your fabric hexagons
And do you cut out your fabric hexagons 1/4 larger than the paper hexagons or a tiny bit larger?
Thank you
Colleen
I will definitely do a post on cutting the hexies tomorrow for everyone, because I have used just about everything to cut them. They past few years I have used an accu-quilt cutter and it's wonderful. Their new die cutter will cut the fabric and the paper at the same time in the 2 different sizes. I've also found the hand cutters in the paper craft stores work great too. About cutting the fabric...in the beginning, I was a perfectionist with the 1/4" all around the paper hex and then I realized it doesn't matter. No one is going to see it, so I would just hand trim around the Freezer paper hexie. I also have used fabric squares larger than the hexagon and just folded it around the hexagon paper. I'll show all in the next post.
DeleteFantastic post! I didn't even know a mini iron existed! Also I've been sewing the papers the old way. Much prefer your way. Thank you! X
ReplyDeleteI've just started doing Hexies. I as an American living in England have fought the trend tooth and nail just to be different. Finally I've done it just to help use up the 30 gallon tub of scraps, I'm sick of looking at.
ReplyDeleteDo you have any hints for cutting the hexies? Cheers. Lovely Tut and I'll stop sewing through the paper asap!
Hi Kim, I could't reply to you directly because there wasn't an email address, so I hope you come back here to read this. If not, I will also do a post tomorrow about cutting the paper and the fabric. One quick tip for the freezer paper is to fan fold a large piece of the paper, trace your hexagon shapes from a template found online all the way down the folded strip of freezer paper (any size hexagon you'd like), staple in the center of each hexagon to keep the paper stable and then cut out the hexies. Remove the staple and you're done! Hope this helps. I'll have pictures tomorrow.
DeleteDo you have an easy way to make the hexies from freezer paper? I hope I didn't skip over it. I'll go back and see if I did.
ReplyDeleteHi Aunt TC,
DeleteHope you'll come back here to read the above note too or visit tomorrow for the tutorial!!
I couldn't reach you be email...sorry
Very nice tip and tutorial, thank you.
ReplyDeleteSome how my comment did not post. Just in case here I go again. Thanks for the tutorial, I have never made the hexies. But with this tut. I am going to try a small project and see how I like them. I thought maybe a sachet bag.
ReplyDeleteBlessings,
Tonia
Thanks for great tips! Will reform my methods a bit.... Enjoy your blog. Cheers! Carol S. from Vancouver in Beautiful British Columbia CANADA
ReplyDeleteThank you so much for the excellent directions. I really do want to do this....you are making it all possible.
ReplyDeleteThank you!!!! I have been leaving my basting threads in (with a card stock template) and kept thinking I was doing something wrong. Now I feel better about my technique. I will have to try the freezer paper method. My hexies are a bit bigger - I use those clover mini clips to hold all the corners in place, then zip around with my basting. I just need to pick a big project - so far my fabrics have been fairly random.
ReplyDeleteThank you for this tutorial, for the first time I understand how to make a hexagon using paper. Great photos
ReplyDeleteWhere can I find that mini pressing mat? Love it.
ReplyDelete