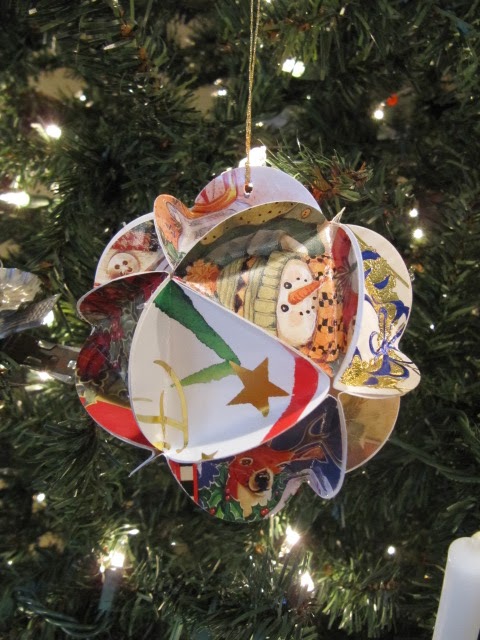
Folded Christmas Card Ornament…
Easy project you can make in so many different sizes.
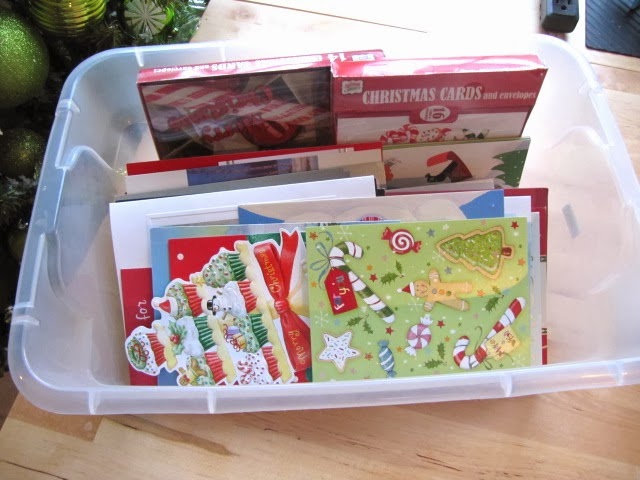
Back to the card box again…
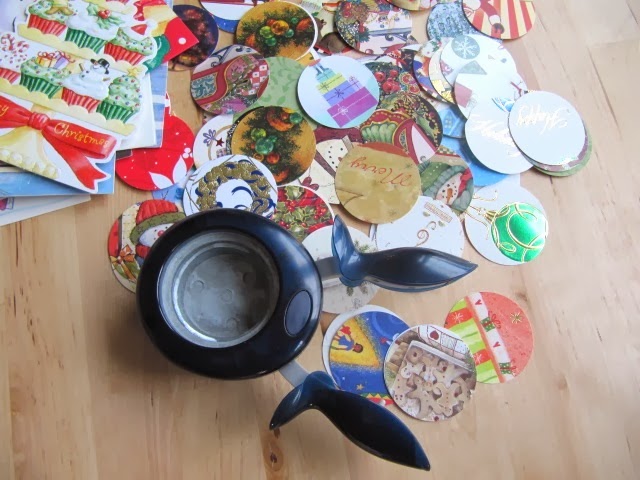
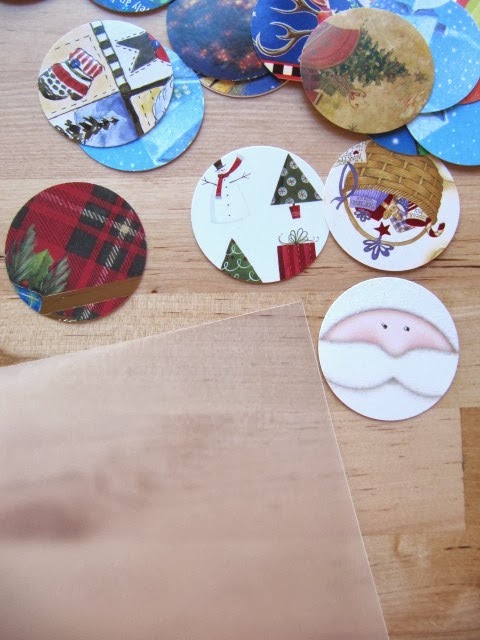
The circle punch I have is 2 inches across, but they do sell them in a variety of sizes.
You can punch these circles out randomly. You don't have to fussy cut the design. Just punch away!!
The construction of the ornament involves folding the edges of the circles with a triangle shape. The old way of doing it was to trace the triangle on the back of the circle card, score it, then fold it over.
My way is to use a plastic or cardboard template to fold the circles for gluing.
I made this one out of an old plastic notebook.
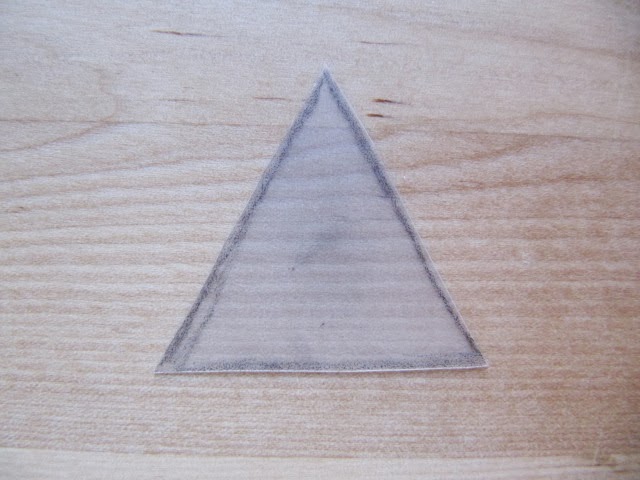
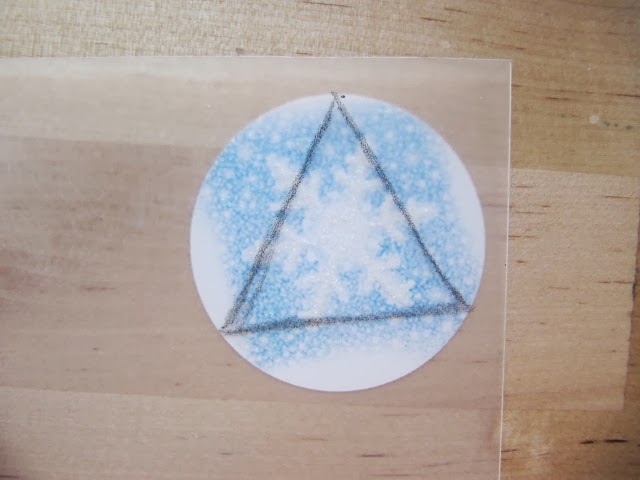
I use the clear plastic template, so I can see the circle underneath when I'm drawing the triangle inside to fit.
Place the plastic over the circle and draw an equilateral triangle to fit inside your circle size. I used a pencil for the numerous mistakes!
I kind of winged it to fit. It's a craft project, so don't stress.
You can trim a little as you go. It just needs to fit equally in the circle. Measure each side of the triangle, so they are approximately the same size.
The sides of mine are 1 1/2 inches on all 3 sides.
To start…
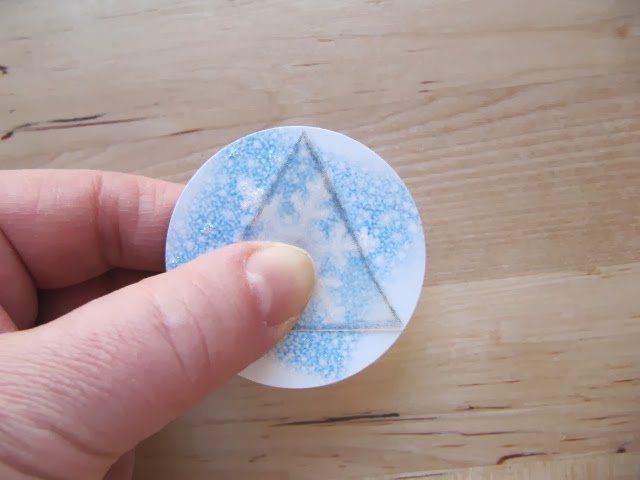
Place triangle template on the design side of the circle.
Bend one side over the template.
Fold over the next…
and finally the third.
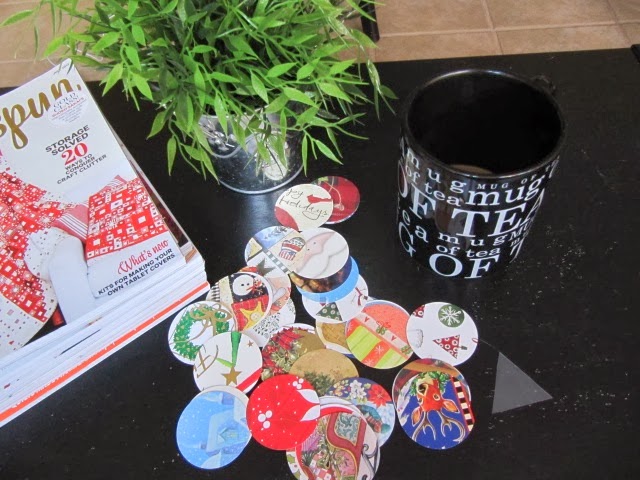
Now take all your circles, your triangle template and grab a large cup of tea and start folding!!
For one ornament you will need 20 circles...5 for the top cap, 5 for the bottom cap and 10 for the strip in the middle.
This went faster than you'd think.
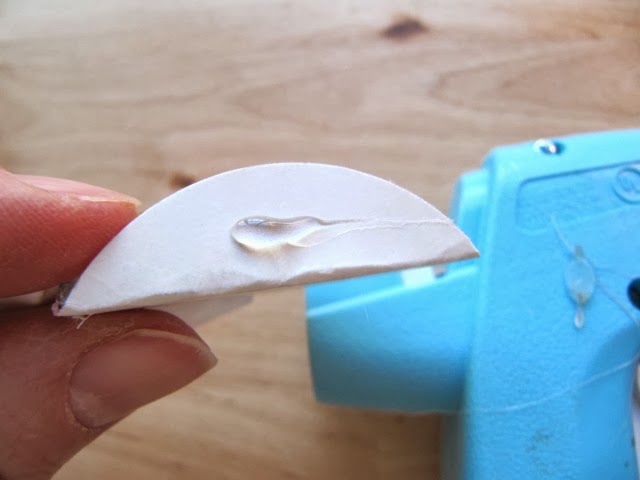
I ALWAYS use hot glue, because it's super fast to dry…seconds. Using hot glue, you can keep moving on without stopping.
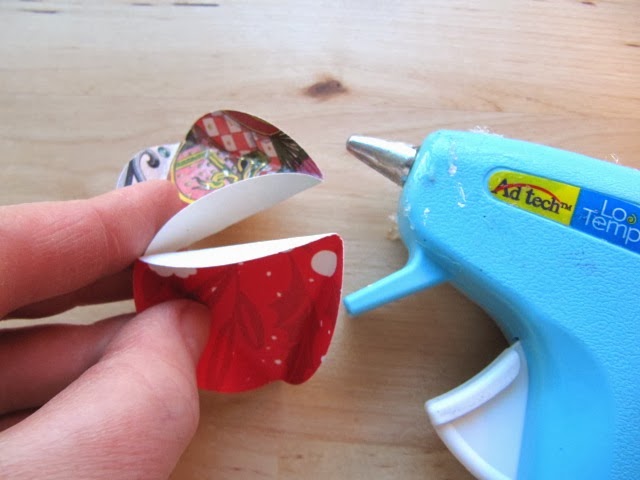
Glue the flaps together with a spot of hot glue.
You only need a smidge on one side of the flap.
Pinch the 2 together.
Glue 5 together to make the top cap.
Folding isn't perfect, so the gluing won't be perfect. Just try to match the circle edges.
Make 2 caps of 5 circles each.
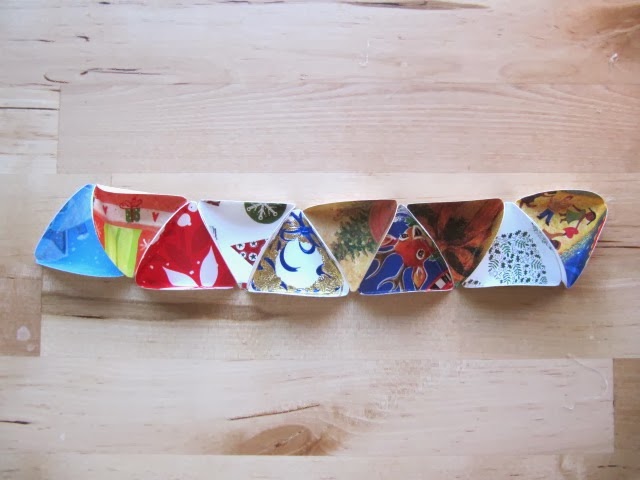
You will also need the middle strip.
Glue 10 circles across in one straight strip.
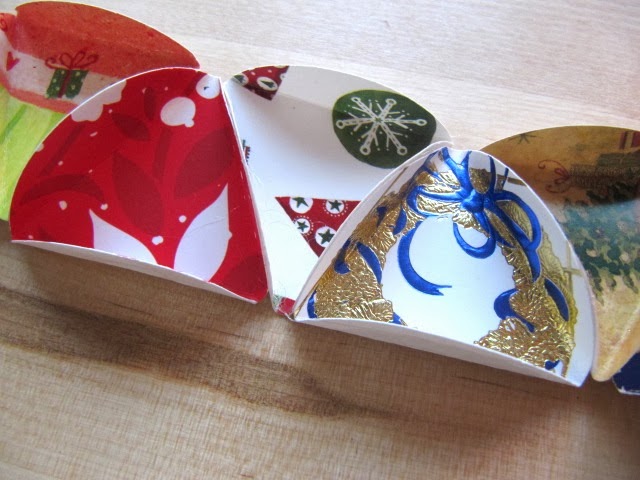
Close-up.
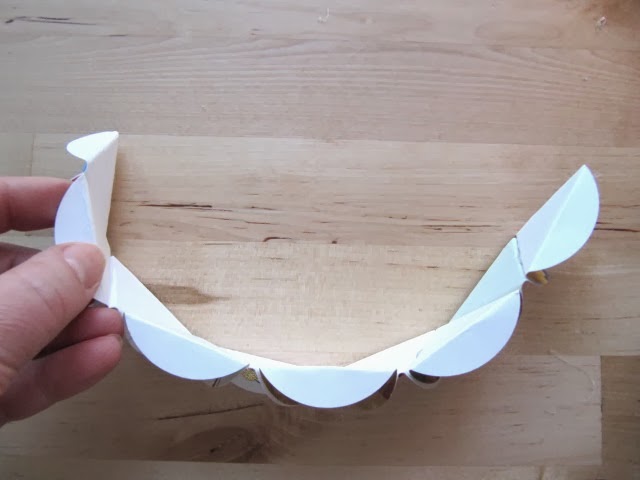
Now take the strip and form a circle.
Glue to form a ring.
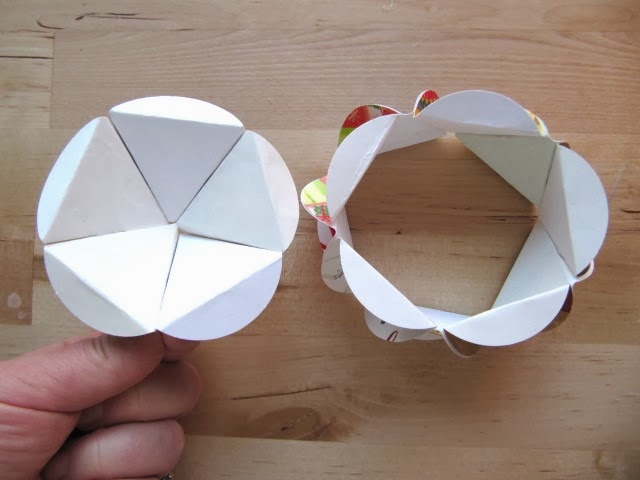
Here's the ring.
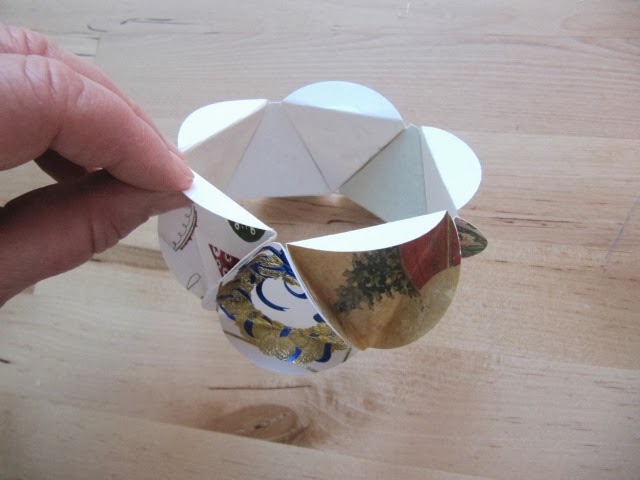
The flat flaps of the cap will fit on the flaps of the ring.
Place the cap on top and glue each flap one at a time.
Here's the middle ring with the top cap on.
Now take the bottom and glue it on.
Done!!
This is a mix of all different cards, but you could do a theme by picture (all snowmen or santas) or by color.
You could leave it just like this and fill a big bowl or basket of them.
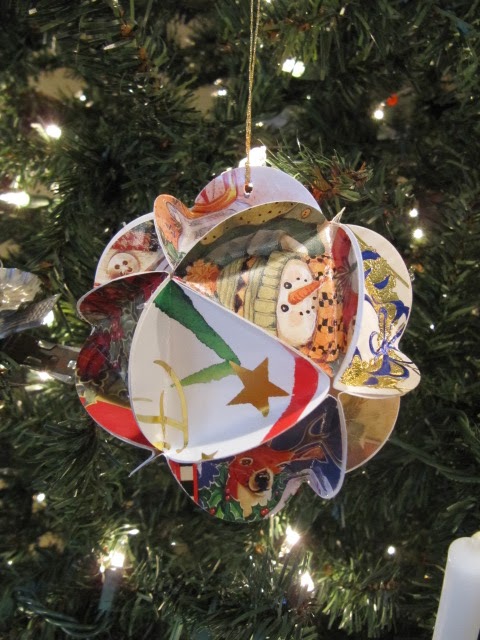
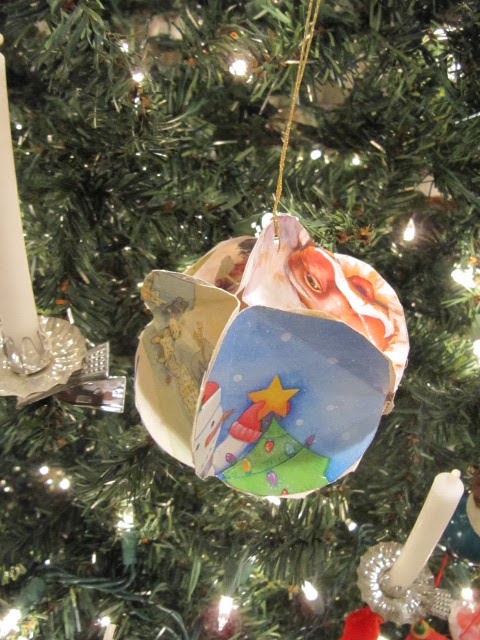
You can also make ornaments for your tree.
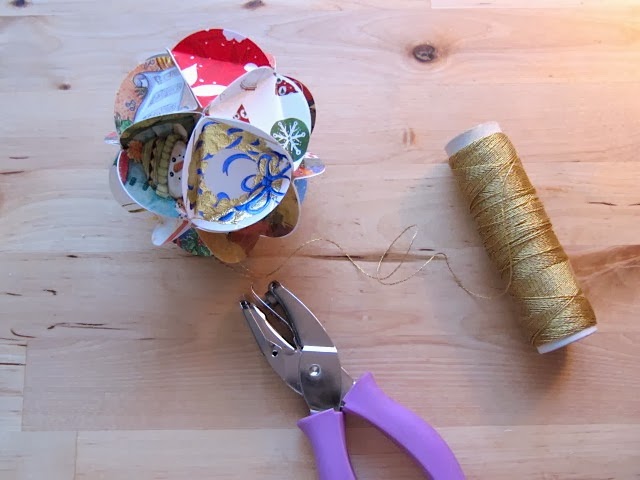
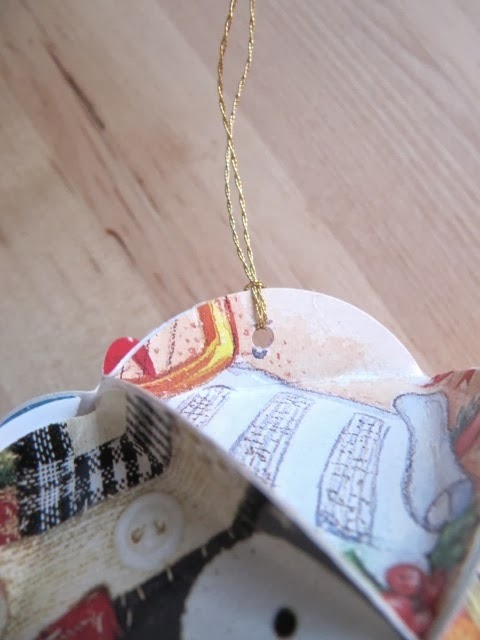
I used a tiny hole punch and added gold cording.
A whole tree filled with memories of Christmas past.
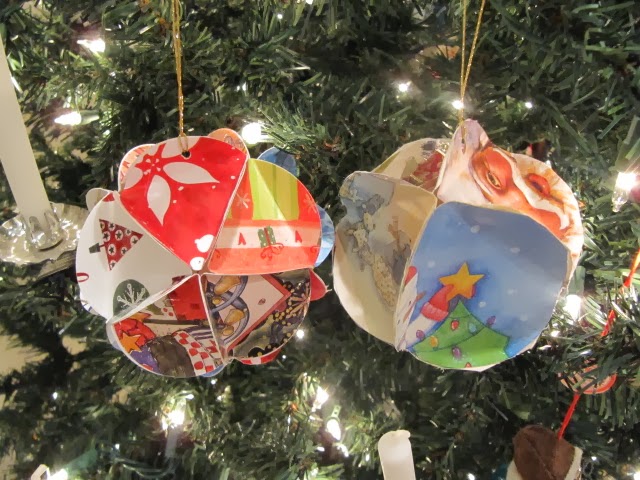
If you want a project for your little ones to put together, you can use 8-10 circles and make 2 caps of 4-5 circles and glue the 2 caps together and don't add the middle strip.
Here the difference between the 2 designs.
For the ornament on the right with the 8 circles total, I used the cap of a canning jar to trace.
When finished, the main ornament from this post, with the twenty 2 inch circles, is about the size of an orange. Adjust the circles smaller or larger for the final size you need.
This is such a great project to use up lots of cards and keep the memories for years to come.
Thanks for stopping by,
~Karen~















Hi Karen, Love this crafty idea!!! It's simple and beautiful!!! They will be hanging in my tree next Christmas!!! Have a great weekend!!!
ReplyDeleteLove
AMarie
This ornament is so beautiful! I regret that here we don't have the tradition of sending Christmas cards...
ReplyDeleteBut I'm sure I can find something to realize one, maybe some scraps of gift wrapping paper, glued onto thin cardboard?! Next year I'll try! :)
Oh, this is darling! A wonderful thing to do with the kiddies for sure. Pinned for a project for next year!
ReplyDeleteMy circle punch arrived yesterday as I was inspired by your previous decoration. This one looks a little more challenging! Thanks so much. Great to be re use those Xmas cards. Maggie xx
ReplyDeleteThis is a great way to use up old cards. You are so clever to have come up with this tutorial! :) Thank you for sharing it, I will have to try it.
ReplyDeleteMarti
Thanks for the tutorial! I don't receive many Christmas cards, but I went ahead and ordered the hole punches after seeing your last decoration. I think I might ask the teachers at school to help me out. This looks like so much fun!
ReplyDeleteLove the ornaments. Thank you for the tutorial. Great project for next Christmas.
ReplyDeleteWe used to make this ornament as kids (in the 70's). It was such fun! Thanks for the memories!
ReplyDeleteLove this! Especially the idea of filling a basket with them. Thank-you so much for the great picture tutorial!
ReplyDeleteThanks for the reminder of days ago...I haven't made these in years! I think I will give them a go for next year.
ReplyDeleteSuper cute ornaments!! How creative!
ReplyDeleteI helped my son make an ornament like this for extra credit in math...wish I had had your tutorial then! Love the idea of making them with old cards!
ReplyDeleteHow cute! Now I have time to make some of these and put them away for next year. I wonder if there is a way to make a wreath with these. I'll have to figure that out! Happy New Year!!
ReplyDeleteHello Karen, Thats's a good idea! Thanks!
ReplyDeleteHappy New Year!!!
Great tutorial Karen, I always Love your tutorials and website. I think I've been following you for ages, well at least since the summer, but haven't transferred all my bookmarks to bloglovin or blogher.
ReplyDeleteSo is that Portuguese grandmother of yours directly from Portugal or has she been in Rhode Island a while. Just wondering. I'm Bermudian and my Grandmother was born in Fall River so my sister did a lot of geneaology in your neck of the woods. Rhode Island is beautiful.
Lucky duck, hope you are not all snowed in right now.Thanks for all your wonderful posts this last year . Always love your sewing room blog posts, as a sewer and quilter.
My Grandmother used to make these. but she stapled hers together.
ReplyDeleteMy Grandmother used to make these. but she stapled hers together.
ReplyDelete