In a nutshell, March was a crazy month of doctor appointments on every day off I had from work. A few different health issues with an endoscopy, cat scans, MRIs and still in physical therapy. Nothing serious, just getting old stuff.
I like to sew the blocks during the day for the best daylight for picturing taking and it just never seemed to work out these past few weeks. I had the time to sew at night, but the light was awful.
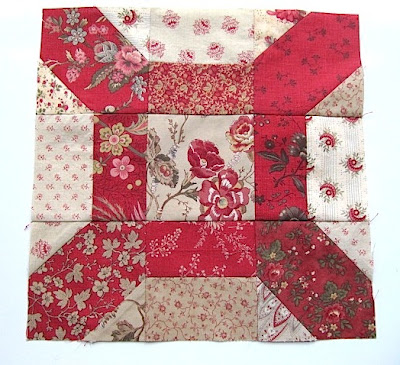
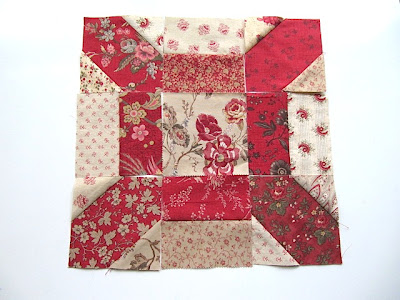
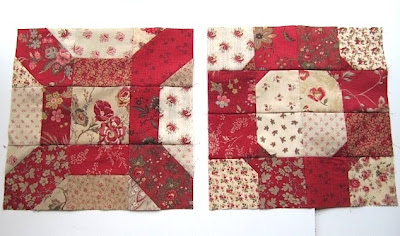
Any woo...let's see this months block...it's called Linoleum
If you are just joining in on the fun, you are not too late. Click HERE for last month's block! It also has sewing tips that will help you with this block.
All blocks for this club will be 12.5 inches unfinished and 12 inches square when sewn into a quilt. I usually do my blocks with scrappy fabric, but you can use 2 or 3 fabrics for this block in any style.
To start, you will need...
- 4 dark colored squares cut at 4.5 inches
- 1 light colored square cut at 4.5 inches. This is the center square if you want to fussy cut something
- 4 light colored rectangles cut at 2.5 inches by 4.5 inches
- 4 dark colored rectangles cut at 2.5 inches by 4.5 inches
- 8 light colored squares cut at 2.5 inches
*If you are using all the same fabric for the darks and the same for the lights, you can cut strips 2.5 inches wide by about 19 inches long (of each fabric) instead of cutting individual rectangles. I'll explain later on in the tutorial. *
To begin assembly...
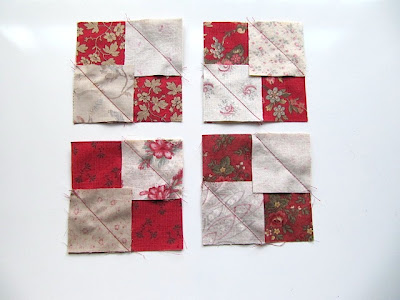
Take the 4 dark colored 4.5 inch squares and place one light colored 2.5 inch squares in the upper right corner and one in the lower left corner, as shown below.
Place squares right sides together.
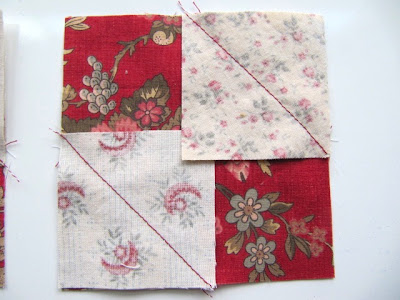
Now sew a diagonal line from corner to corner on each light colored square.
Remember to click HERE for the first tutorial on detailed instruction on how to do this step.
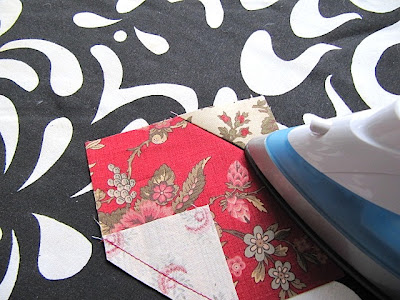
Close up of the stitching.
Trim the corners (lower part of the square below) and then press the light fabric open. Use a squaring ruler if needed.
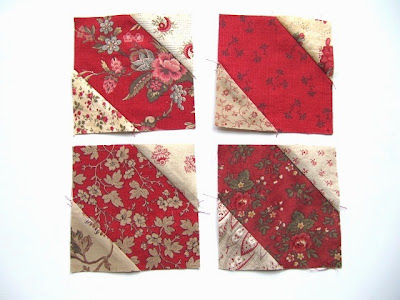
Here are all 4 dark colored squares with the light colored corners.
Now for the rectangle pieces that were cut 2.5 inches by 4.5 inches.
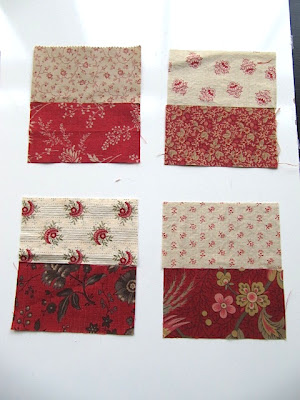
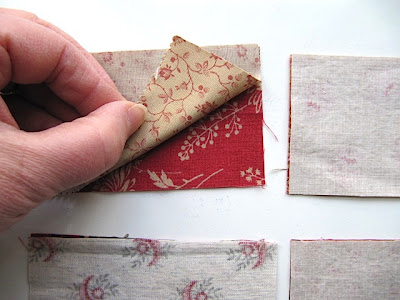
Match one light and one dark, as shown below.
Place the light rectangle on top of the dark.
Right sides together.
Sew a scant 1/4 inch seam allowance. Again, the other tutorial here will explain what scant is.
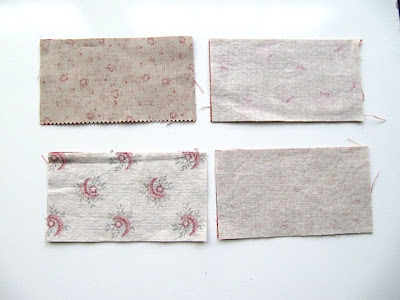
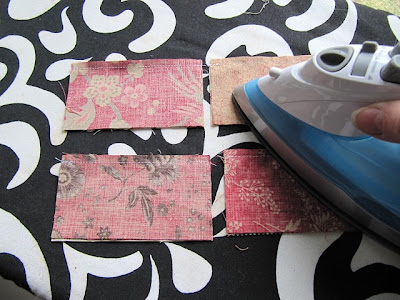
Iron all four sets on the dark side.
Open up the dark and press the dark back. This allows the seam allows to be behind the dark fabric not the light.
Now you have 4 blocks that are 4.5 inches square
Here is the alternative method for the above blocks...
*If you are using the same fabric and not scrappy like mine, you can cut one strip 2.5 inches by 19 inches of the light and one strip 2.5 inch by 19 inches of the dark.
Sew them right sides together, press seam allowance to the dark, then cut your squares at 4.5 inches from the strip. The 4 squares cut at 4.5 inches total 18 inches, but I said to cut the strips at 19 inches to give you some forgiveness when cutting.
**********************************
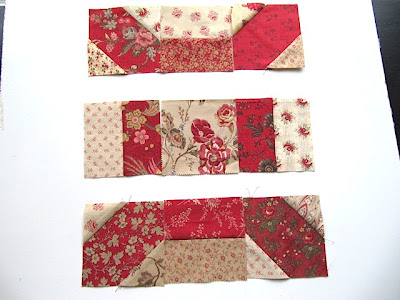
Take all the blocks that you have just sewn and arrange them in this order.
You will be sewing them by rows
Here are the 3 rows of squares sewn together.
Now sew row 1 to row 2, right sides together. Open and press.
The color options for this are endless. The corner dark fabrics can be one print and the rectangle pieces can be another print. You can also have all the same background light fabric instead of the scrappy that I used.
Two blocks done!!!
I always try to do scrappy, because 1) it uses up a lot of my scraps and 2) it eliminates the fear that I won't have enough of that "one" fabric I started with to finish the quilt!
Here is the Block of the Month Club button if you want to share. Click HERE if you don't know how to add a button to your side bar. The code is on my right side bar.
You can also join us on my Block of the Month Flicker group to share your blocks. Click HERE for that.
Happy Sewing,
~Karen~









Thanks for the tutorial. I love the fabric colours that you have used.
ReplyDeleteWonderful block. It looks like charm squares are ok for these two blocks so far. Enjoy your week end.
ReplyDeleteThis DOES look like flooring we used to have, although not in these pretty colors! Do you have a Print Friendly button? Your blocks are so pretty.
ReplyDeleteThank you for sharing these tutorials on quilting. I am NOT a quilter but I know that I want to do this 'some day' in the not-so-distant future. I will 'pin' these to remind me of your excellent tutorials.
ReplyDeleteP.S.: I made several of your little heart bookmarks and just loved them. Thank you!
Thanks so much for the next block. These are so fun, looking forward to the next one...;o)... Take care of yourself, stay well..
ReplyDeleteGreat instructions! and pictures. Can't wait to make this one!
ReplyDeleteIt's lovely. Thanks for the tutorial.
ReplyDelete