Today's project is an easy one and a continuation from the Rope Can project. Click HERE for that!!
Rope Coaster...
This was so easy and cheap!!
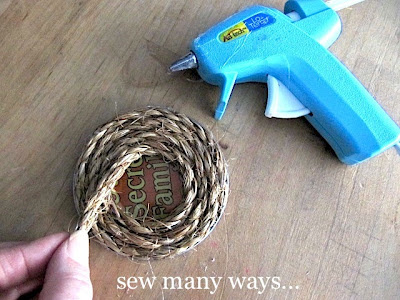
Start with a can lid. This was from a can of baked beans.
I use a can opener that cuts from the side of the can, not the lid, so it leaves a rounded (not sharp) edge.
You could also use the lids from frozen drink mixes, because they aren't sharp either.
The top of this lid has a nice lip on it too...great edge to glue up against.
I started hot gluing the rope on the outside of the lid...
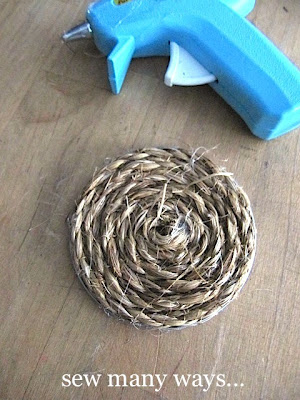
Keep gluing your way around.
Making your way to the center.
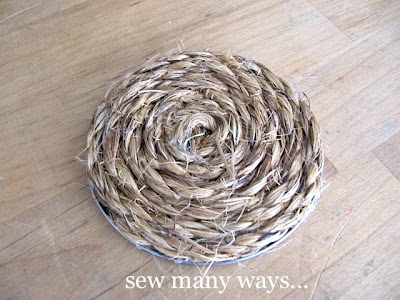
Trim and glue the tip in the center.
All done...quick and easy.
You can flip the coaster over and add a circle of felt to the bottom to protect your table.
Nice hot cup of tea...on a nice little coaster!!
Happy Thrifty Thursday,
~Karen~


Great idea! Would probably catch the "glass sweat" from cold beverages in the summer, too!
ReplyDeleteWhat a cute idea, glad you showed how to start from the outside. I would have had an "oops" without your instructions. Thanks for sharing.
ReplyDeleteAnother great idea thanks for sharing.My daughter was looking for some coasters, I will show her this.
ReplyDeleteThis is a wonderful idea, I love this!! Thanks for sharing this!
ReplyDeleteHugs,
Jo
www.jwscrapshack.blogspot.com
Fabulous idea - thank you
ReplyDeleteJudy
Our DIL will love this idea. She made me a bowl from HORSE rope, which is very stiff) for Christmas (she runs a horse program at a school). Thanks for the inspiration, Karen.
ReplyDeleteIngenius. :)
ReplyDeleteI have a feeling we'll be seeing a lot of rope coasters out there :) Love it! Thanks for sharing!
ReplyDeleteCute idea! I had all kinds of inspiration from this. I think I might embroider something simple, like a heart or flower on felt and glue it on.
ReplyDelete