

Here is today's tip and tutorial...how to add a greeting above your comment box.

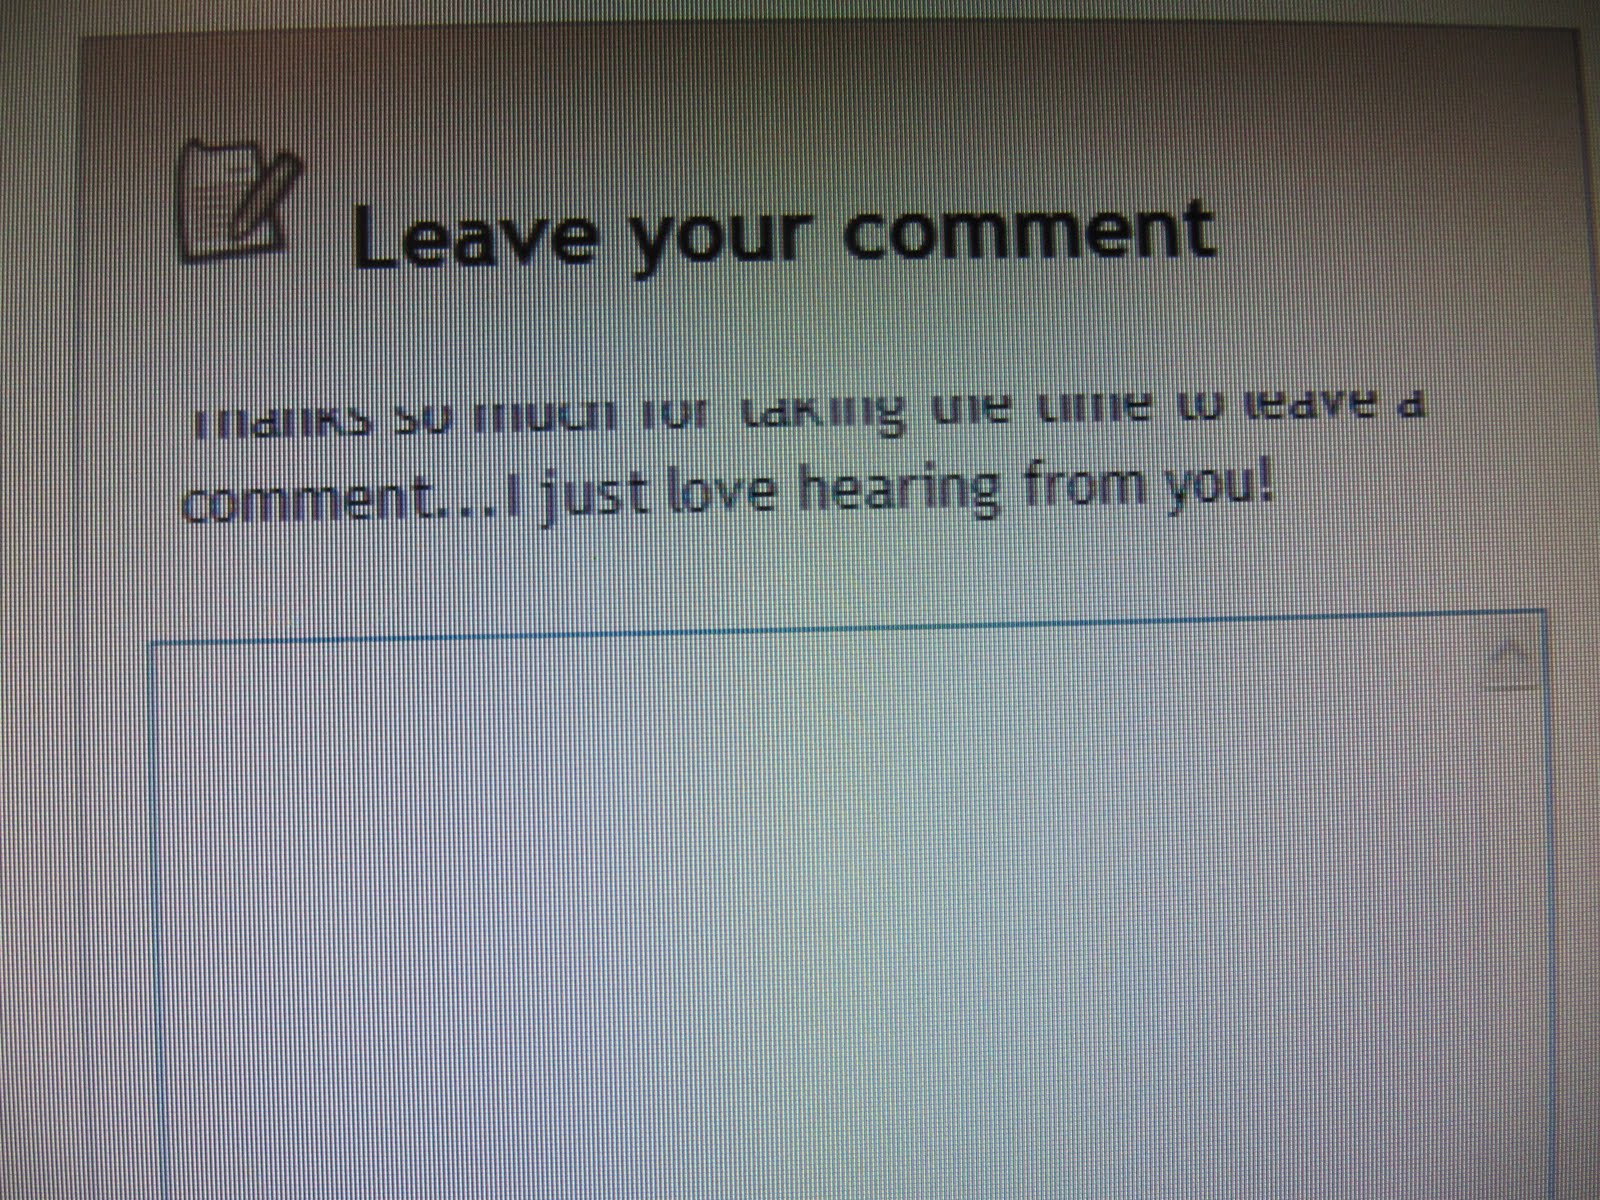
There are 3 ways to have a comment box appear on your blog (instructions for each in a moment) This picture below is how I have my comment box set up. Embedded below post. My actual comment box is the picture above. Embedded below the post means, when someone clicks to post a comment, the whole post comes up, the previous comments before yours and the comment box.

Another option is "Full Page"...which is pictured below. The Previous comments are to the left and the comment box is to the right. If you do want to read the post before commenting, click the blue link called "Show Original Post" just under the title.

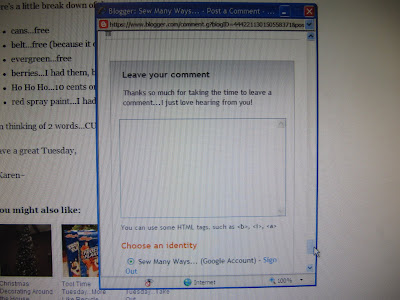
The problem I've seen on other blogs and my own when I had the Full Page option is the print of the greeting is partially cut off on the top. See it in the picture below in the first sentence?
The third option is the pop up window. This is fine, but if some people are using a browser with security features that block pop ups, this window may not appear for some commenters.
Now that you know the types of Comment windows, let me show you how to get there to change it and add a greeting.
Go to your DASHBOARD...

Click SETTINGS.

From this page you can change so many different features in BASIC, PUBLISHING, FORMATTING, COMMENTS, ARCHIVES ETC...

For us today, we will be clicking on the COMMENTS section.

I'll run through each step...
COMMENTS...you will pick whether you want to SHOW or HIDE your comment section. There may be a time where you want to share posts, but aren't up to receiving comments...then you would click HIDE.

WHO CAN COMMENT?... I click "Anyone", because I really haven't had any problems with Spam or bad commenters. If you have "Google Accounts" only, you may be missing out on a lot of great people leaving comments. "Members Only" is for maybe a family blog where you only want certain people to access your blog.

COMMENT FORM PLACEMENT...I described that earlier. This is how the comment window appears.

COMMENTS DEFAULT FOR POST...you would just click "they have" or "they don't".
BACKLINKS...I have "SHOW" backlinks. A backlink just means a Blogger blog linked to your post in another published post.

The next are just BACKLINKS DEFAULT and the way you want your DATE and TIME to appear below the post. And now the most important part is the box for COMMENT FORM MESSAGE...in other words, the box where you type your comment greeting.

Just click in that box and type away...

The next section is COMMENT MODERATION. I have NEVER clicked on mine, but if you click Always...you can read your comments first before they are place on your blog. It's just like a PREVIEW section. That's why sometimes after you leave a comment, it doesn't appear in the comment section right away. Look to the top of the comment section on someone's blog they might have that feature enabled...you will see COMMENT MODERATION.

SHOW WORD VERIFICATION... I put yes, this prevents SPAM. A person has to type in that jumbled word. If it's a computer trying to spam you, that automatic computer can't type in that word to send spam your way.

The last 2 settings are SHOW PROFILE IMAGE...that's the picture you've chosen to be next to your profile on your dashboard. That image will show up next to each of your comments. There's also a pop up window that appears when you leave a comment. It says..."Do you want to display non secured items?" If you say yes, your pictures will show up. If you say no blank boxes will appear.
The last section is COMMENT NOTIFICATION EMAIL...enter all of your email addresses that you want your comments sent to.

and last, but certainly not the least....CLICK THE SAVE BUTTON. You know the drill by now LOL.!!

Have fun changing your settings and I'll be back with more later on!
Have a great day,
~Karen~
Thanks for the tute, I just changed my blog!
ReplyDeleteThanks for doing this. It's good to have a "non-tekkie" viewpoint on how to do things. I do alot of things by trial and error and then when I can't figure it out, I'll google or go to Ask.com or Blog Help or just dig around until I get an answer. It's good to have another source!
ReplyDeleteWhat a lot of work you are going to for these tutorials thank you so much ,I'm sure everyone is learning lots I know I am .
ReplyDeleteIs there a way to only allow certain individuals to access your blog?-if I want to create one just for family, is that possible without the whole world seeing it?
ReplyDeleteI want thank you for providing these tutorials! I used the last and this one to make mine a little more personable.
ReplyDeleteKaren, gracias por enseñarnos este tutorial, está muy bien explicado y nos será muy útil. Gracias también por el comentario que me has dejado en el blog, me has hecho muy feliz. Besos
ReplyDeleteI am loving your blog buddy posts. It is so much fun to learn all the little tricks to personalize my blog.
ReplyDeleteVery helpful Karen! Thanks alot! Jenn
ReplyDeleteThank you for this. I love the fack someone is showing my how to do all these wonderful things. I would like to find out how to make my blog header picture bigger.
ReplyDeleteThanks - this is great to learn and fun to be able to enjoy the blogging experience a bit more...
ReplyDeleteHugz
Hey, I am not a newbie, but I just learned something cool here. Thanks for sharing!
ReplyDeleteThanks for doing these hints!
ReplyDeleteI like the way your blog goes right across the page. Is the width just a matter of which template you choose? My blog is just a narrow strip down the centre of the page, with lots of wasted space on the sides. But I don't know why, or how to fix it. If you've got any hints on that, I'd love to hear them!
Thanks for the tips. I have played with all this stuff in the past, but had forgotten all about it.
ReplyDeleteLove all the tips - you're doing such a great service! My only comment is that I really hate the word verification, and I wish more people would turn it off. It's easy enough to turn it back on if you get spam, but until then, why not make it easier for people to leave comments? I've had mine off for a long time, and I think I've had maybe 2 spam comments in a year.
ReplyDeletethanks...love the tips!
ReplyDeleteThat is the one feature I did figure out but your tutorial is a good one and makes it simple, where were you when I did mine?
ReplyDeleteOne thing I did try and do and couldn't, not sure why, was put a signature at the bottom of my post. I have a nice web site that lets you create one but then when I inserted it I couldn't post. so maybe one of these days when you get around to it in a more advanced stage of blogger help you could cover that. There was something else too but I forgot what it was for now. Maybe some one already asked it, whatever it was
Thank you for taking the time to do these tutorials. Most helpful.
ReplyDeleteThanks Karen, if ever I want to start a blog at
ReplyDeleteleast I will be sort of familar with it. Your
time if really appreciated.":O)
There are some blogs I cannot comment on and now
I know why.
Thank you, Karen !!! You just don't know how badly I need these instructions. LOL !! I learned something new today..
ReplyDeleteThank you for your tutorial, I have already made some adjustments on my blog.
ReplyDeleteThank you for the tips! This was really helpful:)
ReplyDeletethank you so much for the tutorial..helps a lot to have someone walk you through something like that..
ReplyDeleteThank you for taking the time to share these tips. Some I knew and some I didn't. I've been implementing the changes.
ReplyDeleteThanks so much for your tutorials! So one just commented on my blog and then sent me a email they received which showed them a Delivery Notification Failure. Thank goodness I had put a link to your blog on my site and hopped over to find out what I had done wrong.......old email address in the comment notification. First you helped me not be a No Reply and now I get a email with a comment notification. Can't wait for more tips!!
ReplyDeleteWow you're so sweet for posting the step by step procedure. I actually applied it on my friends blog. Thanks!Window Blinds
ReplyDeleteThank you for the tutorial. I changed mine as well. I'm thankful for those who share their knowledge like yourself.
ReplyDeleteI have been browsing around your posts on blogging tips and love what I see! Thank you so much for posting these helps:)
ReplyDeleteThank you so much for these easy to follow, changing my blogs world tutorials!
ReplyDeleteI've been wanting to change some things on my blog for such a long time but put them off because I thought they were hard. Thanks to you I now have a signature and a comment label and counting x
I am just getting started, thanks for the easy to follow instructions!
ReplyDelete