
space
I love Tuesdays. I love sharing , I love thinking of things to make and I love all the wonderful comments you leave me, especially the last post on the button frame and don't forget, there's still time to enter a little give away too. I read each and every comment and I love them.
space
This is a crazy time of year. Courtney is just home from finishing a successful freshman year of college and Kelsie is graduating from high school. All the "lasts" of everything are happening right now...last fund raisers, last dance recitals, last prom, last field trip, last senior project and then all the "firsts" for upcoming college. As you can imagine lots of emotions right now. And don't forget my peanut butter and jelly sandwich count down...13 more to go. When all this settles down, I'll be much better at replying!
space
This Tool Time is perfect for this crazy time of year or if your mind is like mine and you always need a list. My mind is like a sieve. If it's not down on paper...it doesn't get done.
space
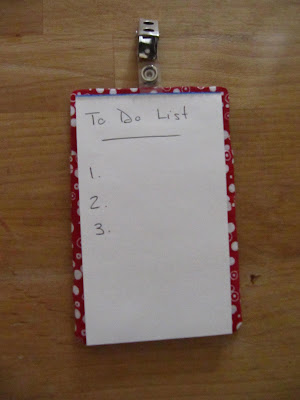
This is the best To Do List Holder EVER!!! Ok, maybe I'm bias, but I do love it!
space
 space
space
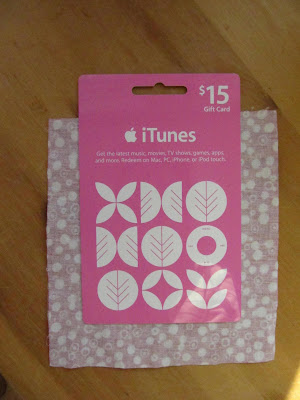
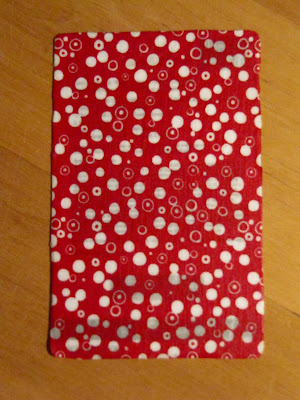
Look what it's made from...another empty gift card. Remember the last time I used an old gift card, here.
space
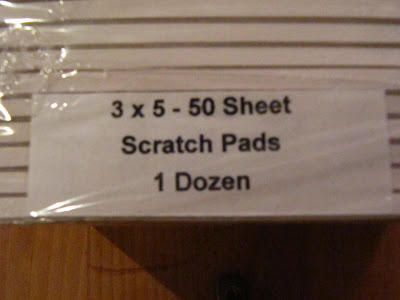
These gift cards are about 3 1/4" x 5 1/4" and I used a 3" x 5" note pad.
space
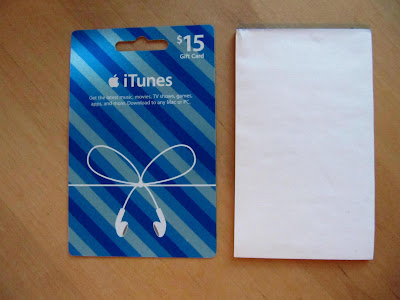
Make sure the note pad has a card board back.space

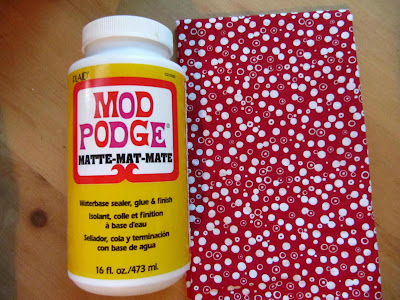
You will also need some Mod Podge, which is the best thing ever invented. It's a glue and sealer in one. You'll also need a little fabric and a name badge clip which is pictured further down.
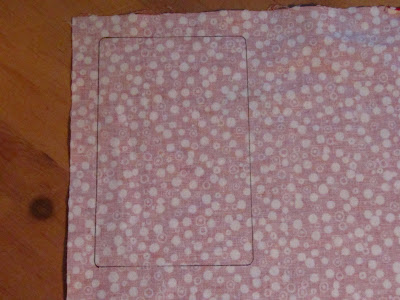
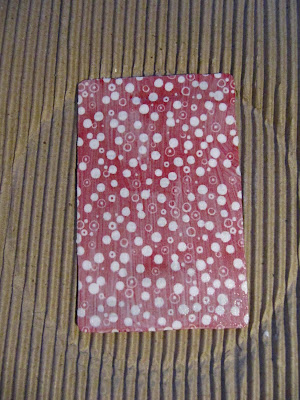
Place the gift card on the fabric...
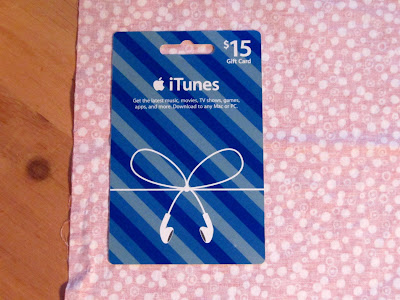
and trace the shape.
You really only need one of these, but if you'd like to cover the back of this project, you'll need 2. You won't see the back, but if you are making them for gifts, I would.

Now spread a layer of Mod Podge over one side of the gift card.
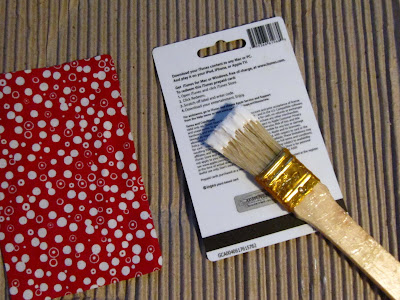
Cover the entire surface.
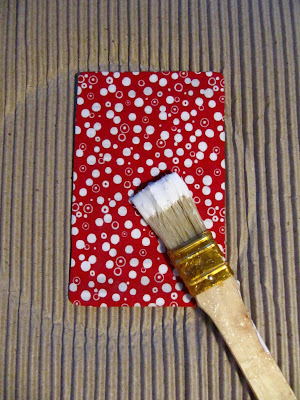
Place the fabric piece right side up on the glue.

Take the Mod Podge again and paint the entire surface of the fabric to seal it. You don't have to wait until the first part is dry before you coat the top of the fabric.
Set aside until it dries completely. It doesn't take too long.
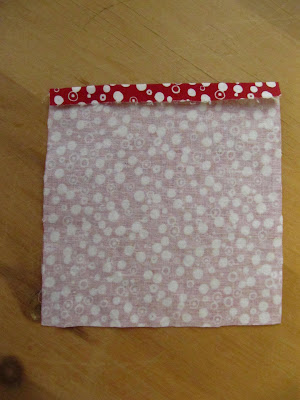
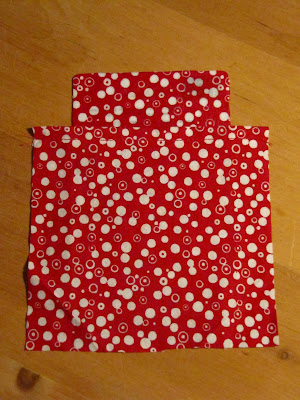
When it dries you will need to make the pocket for the front. I just used another card to cut out the fabric. The size is random, but leave about an inch all the way around except for the top. I made the fabric about an inch shorter at the top. The picture explains it better.
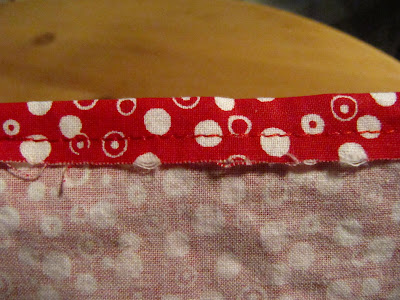
Fold over the top edge of the fabric about 1/4" or so.
I sewed mine, but you can use hot glue, fabric glue, stitch witchery etc...
Now take your dried, fabric covered gift card.
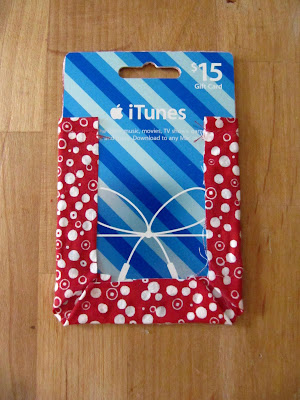
Place the pocket on the front of the card, right side up about 1 1/4" - 1 1/2" down from the top.
Turn the card over to hot glue down the edges.
space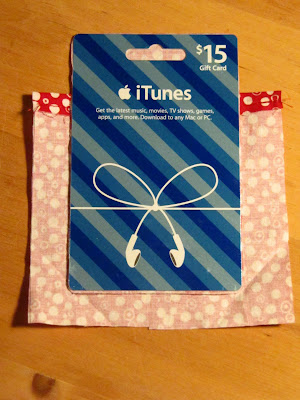
I folded up the corners, then glued the sides and then finally the bottom. Don't pull it too tight. Leave the pocket a little loose to slip in the note pad. See my black silicone hot pad...I really do use it for hot gluing!! This is when you would Mod Podge or hot glue the backing fabric on if you want.

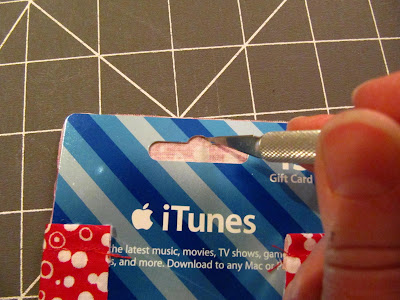
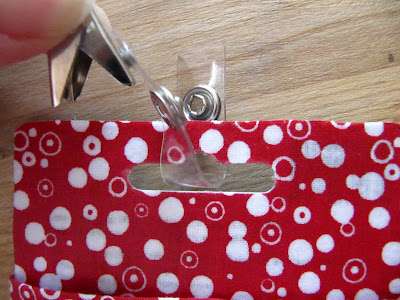
You will need to cut out the area where they hang the gift cards.
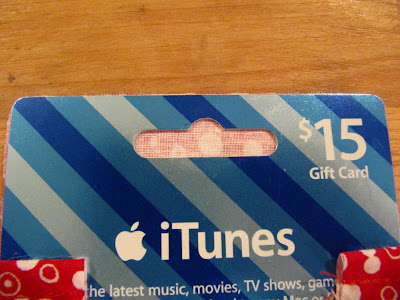
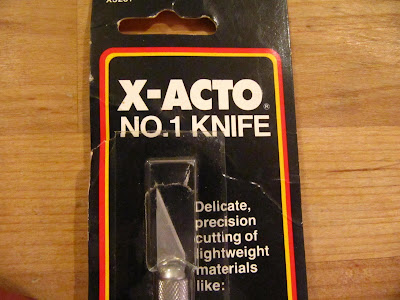
I used an x-acto knife.
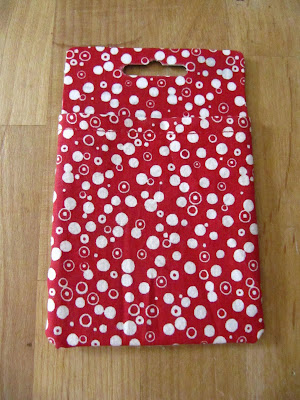
All set to go.
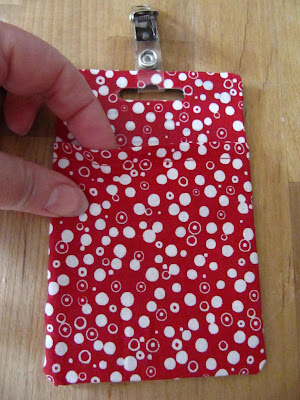
Here's the cute front!
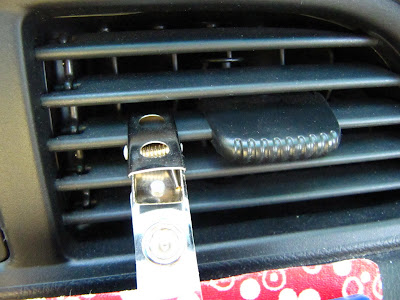
You need a name badge clip too. I found these in Walmart office supply section or at Staples. You can also buy them by the bag online.
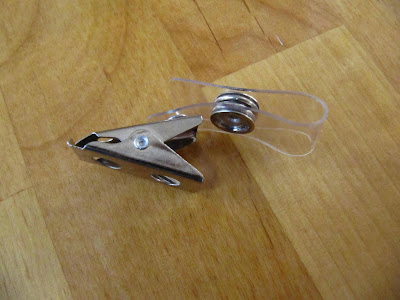
Just attach the clip through the hole and snap closed.
Remember the pocket on the front?
Well, take one of your note pads...
take the card board backing...
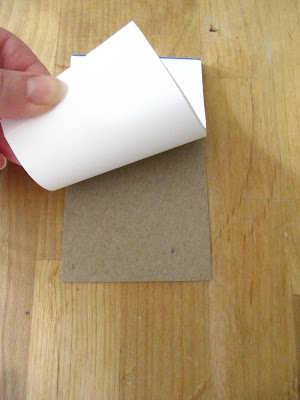
and slip it into the pocket.
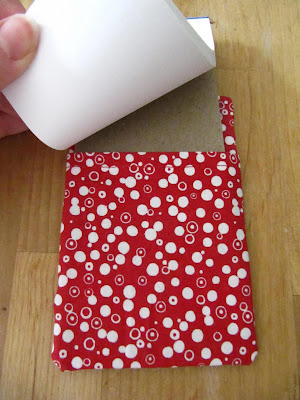
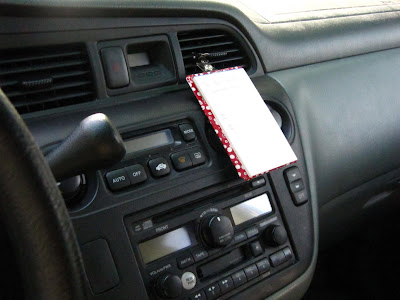
Here you have it...a cute little "To Do List" ready to clip any where. Any where you say. Not just any where.

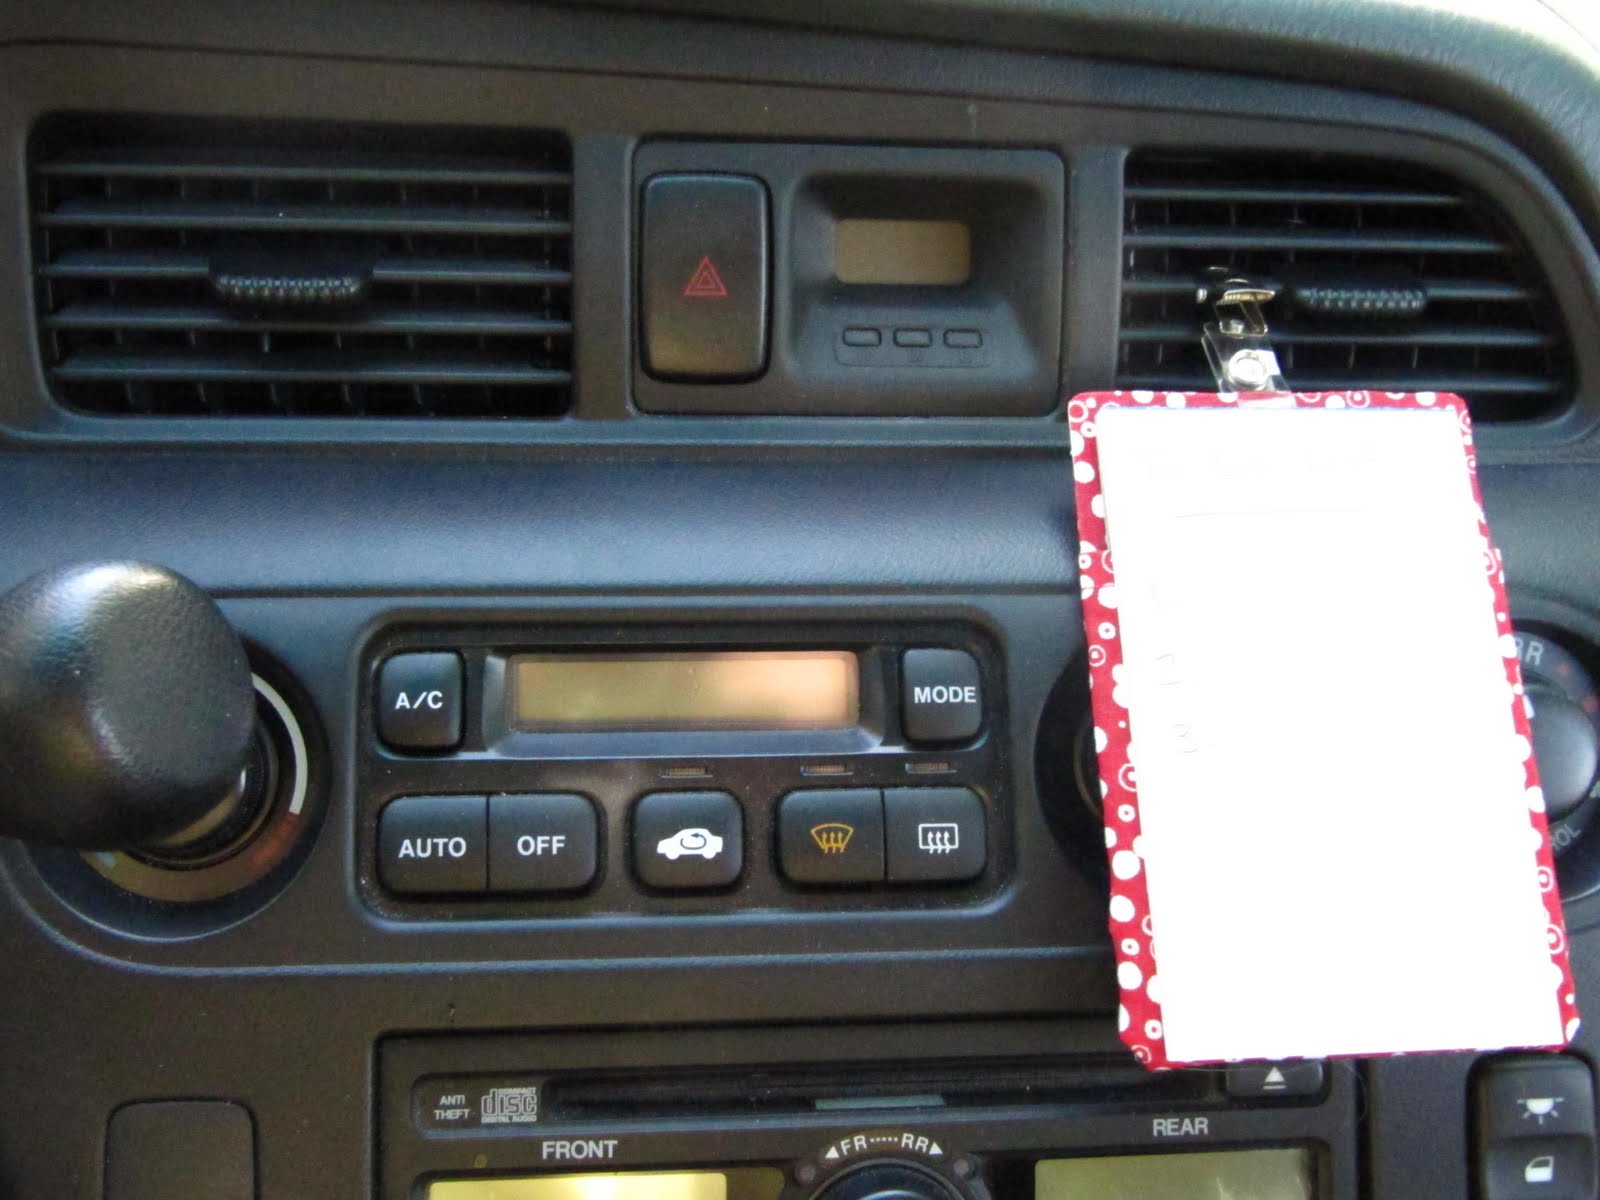
How about here!!!
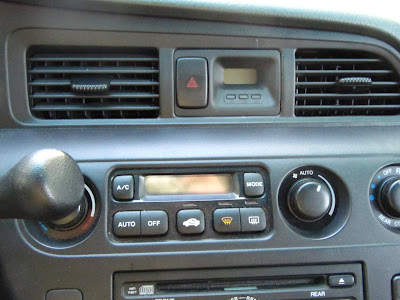
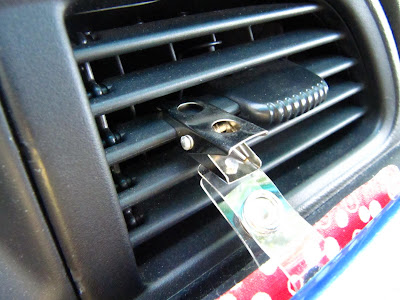
Ok, this is the part that I LOVE, LOVE, LOVE. It clips to the air vent slats in your car. Woo Hoo. A To Do List right where you can see it when you are running around doing errands like a crazy person.
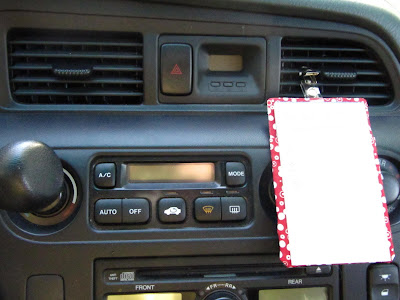
Here's a close up.
I love it so much, I'll show you again! (Ignore that layer of pollen every where. It's awful this season.)
This little beauty is ready to go and I actually used it right after this picture. The list said bank, school, pick up pictures, post office. You can also unclip it and take it into the store with you and clip it to your purse.
I know some of you may not have these gift cards handy. We sure have some here with teenagers in the house, but you can always use a thick card board, template plastic, the plastic from an old binder etc. Just cut out your own shape and follow the same directions.
spaceNow I'd better see this To Do List on your To Do List!!
space
I love Tuesdays. I love sharing , I love thinking of things to make and I love all the wonderful comments you leave me, especially the last post on the button frame and don't forget, there's still time to enter a little give away too. I read each and every comment and I love them.
space
This is a crazy time of year. Courtney is just home from finishing a successful freshman year of college and Kelsie is graduating from high school. All the "lasts" of everything are happening right now...last fund raisers, last dance recitals, last prom, last field trip, last senior project and then all the "firsts" for upcoming college. As you can imagine lots of emotions right now. And don't forget my peanut butter and jelly sandwich count down...13 more to go. When all this settles down, I'll be much better at replying!
space
This Tool Time is perfect for this crazy time of year or if your mind is like mine and you always need a list. My mind is like a sieve. If it's not down on paper...it doesn't get done.
space
This is the best To Do List Holder EVER!!! Ok, maybe I'm bias, but I do love it!
space
 space
spaceLook what it's made from...another empty gift card. Remember the last time I used an old gift card, here.
space
These gift cards are about 3 1/4" x 5 1/4" and I used a 3" x 5" note pad.
space

Make sure the note pad has a card board back.space

You will also need some Mod Podge, which is the best thing ever invented. It's a glue and sealer in one. You'll also need a little fabric and a name badge clip which is pictured further down.

Place the gift card on the fabric...

and trace the shape.

You really only need one of these, but if you'd like to cover the back of this project, you'll need 2. You won't see the back, but if you are making them for gifts, I would.

Now spread a layer of Mod Podge over one side of the gift card.

Cover the entire surface.

Place the fabric piece right side up on the glue.

Take the Mod Podge again and paint the entire surface of the fabric to seal it. You don't have to wait until the first part is dry before you coat the top of the fabric.

Set aside until it dries completely. It doesn't take too long.

When it dries you will need to make the pocket for the front. I just used another card to cut out the fabric. The size is random, but leave about an inch all the way around except for the top. I made the fabric about an inch shorter at the top. The picture explains it better.

Fold over the top edge of the fabric about 1/4" or so.

I sewed mine, but you can use hot glue, fabric glue, stitch witchery etc...

Now take your dried, fabric covered gift card.

Place the pocket on the front of the card, right side up about 1 1/4" - 1 1/2" down from the top.

Turn the card over to hot glue down the edges.
space
I folded up the corners, then glued the sides and then finally the bottom. Don't pull it too tight. Leave the pocket a little loose to slip in the note pad. See my black silicone hot pad...I really do use it for hot gluing!! This is when you would Mod Podge or hot glue the backing fabric on if you want.

You will need to cut out the area where they hang the gift cards.

I used an x-acto knife.


All set to go.

Here's the cute front!

You need a name badge clip too. I found these in Walmart office supply section or at Staples. You can also buy them by the bag online.

Just attach the clip through the hole and snap closed.

Remember the pocket on the front?

Well, take one of your note pads...

take the card board backing...

and slip it into the pocket.

Here you have it...a cute little "To Do List" ready to clip any where. Any where you say. Not just any where.

How about here!!!

Ok, this is the part that I LOVE, LOVE, LOVE. It clips to the air vent slats in your car. Woo Hoo. A To Do List right where you can see it when you are running around doing errands like a crazy person.
Here's a close up.

I love it so much, I'll show you again! (Ignore that layer of pollen every where. It's awful this season.)

This little beauty is ready to go and I actually used it right after this picture. The list said bank, school, pick up pictures, post office. You can also unclip it and take it into the store with you and clip it to your purse.

I know some of you may not have these gift cards handy. We sure have some here with teenagers in the house, but you can always use a thick card board, template plastic, the plastic from an old binder etc. Just cut out your own shape and follow the same directions.
spaceNow I'd better see this To Do List on your To Do List!!
space
Have a wonderful Tuesday,
~Karen~
~Karen~
Karen you are just tooooo good!!!
ReplyDeleteIf I don't write it down....it does not happen. So this is perfect for me because my note pads end up on the floor of the van and I don't like that. I have a ton of those clips too. Thanks for the great idea.
Smiles,
Kelly
I would like to share a tip I just found about a discount gift card exchange called abcgiftcards.com . You can buy sell and trade gift cards at discounted prices from all National retailers.
ReplyDeleteYou outdid yourself this time Karen! You NEED a medal for all your good ideas!!!! love, love this one! I need to make this, as I love it best for clipping it into the vents of my car. Now need to do this!!!! thanks, jo
ReplyDeleteOh, I love this idea. Thank you, Karen, for sharing with us. Winona
ReplyDeleteThese would make great little gifts. Thanks for showing us. Something everybody needs!
ReplyDeleteAMAZING Man your brain is awesome!!
ReplyDeleteYou are so clever
ReplyDeleteI hope I can find some of those clips
I would love to make some
What a simple yet great idea this is!!!! Thanks!
ReplyDeleteCute and Clever. I am a list maker too so I need one of these. Thanks so much!
ReplyDeleteWow Karen, you make everything look so easy. Love the creative project!
ReplyDeleteI love all your clever ideas, and will be making this one for sure.
ReplyDeleteYou are an inventive recycler and the earth loves you!! And besides all that - it is cute. Take a bow and keep up the good work with well written instructions.
ReplyDeleteWonderful, very clever. I love the way you think!
ReplyDeleteI should do that for my husband, he is forever needed a piece of paper...he is a list person...and I am always grabbing my grocery receipts to let him scribble on the back.
ReplyDeleteGreat post today!!
Another fabulous and useful idea
ReplyDeleteYou have received blogger awards from Peg
Holy Cow!! What a good idea...
ReplyDeleteForget the car vent, I need to clip it to my shirt front!
Love it clipped in the car....sometimes I have a list buried in my purse and forget things as I drive along....because the list is NOT right in front of me and I drive right by places I should be stopping!!!
ReplyDeleteThis is one of the best ever. I might have to do one out of camo for my guys truck.
ReplyDeleteGreat idea! I like it! I need longer day to made all of your smart ideas! :)
ReplyDeleteSuper!! I have always lamented at the Car Manufacturer's oversight when it comes to a place to put notes. Can't use a magnet...no metal in these new cars....this is just perfect. Thanks.
ReplyDeleteDitto~ Got it!!! It is on my "to do
ReplyDeletelist". Very clever,I knew those
cards would come in handy for something. You never cease to amaze
me>:O)
I am a list maker to and this is a great idea. Thank you for sharing!
ReplyDeleteThat is so cool, thanks for another great idea.
ReplyDeleteThat is so cute. I love that you can keep it in your car. I want one!
ReplyDeleteI sent it over to Amy @ Mod Podge Rocks -- I thought she would love to see it :)
XOOX
Jen
That does it, I'm going to start looking for a friend with ipod cards. It's a fantastic idea and great for kids little scribbles too.
ReplyDeleteCool idea
ReplyDeleteyep, you've done it again. will share with my group of ladies! thanks again
ReplyDeleteKaren, these are perfect! I was just looking for this idea. I keep forgetting to write down my mileage and couldn't find a pad that would be "right there". Are you reading my mind? Thanks again for your creative juices!
ReplyDeleteThanks for this wonderful idea! I have bookmarked it and will make it!
ReplyDeleteMelanie
Cute project!Fun gift idea too! Thanks for sharing!
ReplyDeleteCut and clever - great gift idea for everybody on your list, teachers, hair stylists, guys and gals alike - thank you soo much!
ReplyDeleteYears ago my principal at the time asked me to design her a necklace that was also a notepad. Unfortunately, I never could figure out a good design. This is it! I bet she has forgotten, but I plan on making her one anyway. Very cool trash to treasure project!
ReplyDeleteWhat a super cute idea!!! I need this for my car!LOL Thanks for the tutorial! Love it and gonna try it for sure!
ReplyDeleteJust found your blog...and I love this project. Too cute!
ReplyDeleteI would like to share a tip I just found about a discount gift card exchange called abcgiftcards.com . You can buy sell and trade gift cards at discounted prices from all National retailers.
ReplyDeleteCool! You are clever! I love it!! Thanks for sharing this :D
ReplyDeletehttp://buy-finpecia-online.com/
I love this idea! Very nifty!
ReplyDeleteOh my gosh. I have a whole bunch of those clips. Got them from one of the teachers at my school and have not found a great use for them as yet. I did use some to hang from a wire shelf to clip flower arrangements when I was working on my daughters wedding. But I am going to make a bunch of these as gifts for the office staff at school. Great idea. Debbie, Rhome, TX debbiemail@embarqmail.com
ReplyDeleteIs there a way to attach a pen/pencil holder on the side or maybe the bottom with another "pocket"??
ReplyDeletethis is a great idea! i have been looking for a note pad like it, because i always think about things while i am driving.
ReplyDeleteunfortunately i am in australia, we drive on the other side and i am right handed! i need something really stable with suggestion cup, but this blog gave me an idea! thank you so much
I have wanted this very thing for so long but couldn't figure out how--like clipping it to the vent. Thank you.
ReplyDelete