
How To Fit 2 Pounds of Crap in a 1 Pound Bag!
space
(psst...there's also a reality check photo at the end)
space
This first picture was when I first moved into my sewing room last year. Click link for last years post.
space
 space
space
This is my sewing room today...now that's a lot of crap, oh sorry "stuff".
I changed the blue accents to red and added some more furniture.
space
space

space
You may remember some of these ideas from an earlier post,
but I'll share again for new comers. This is my cutting table.

I painted an old mug tree for all my scissors and rotary blades.

I use a plate rack to hold all my quilting rulers.

This is a BEFORE of the blue boxes of "stuff".

This is today with the boxes covered in black and white polka dot.

Everything is labeled and filled with "can't live without" stuff. lol
I know you have that stuff too!
space


Here's a before of the blue boxes.

Now cute in black and white.

and filled with computer ink.

Remember I used pipe straps for the handles. So cheap by the bag!

They just screw into the box.

Don't forget...all the boxes are from cases of water.

This is the before of the supply cabinet.

Click link for all TTT projects
See I really do use those ideas!

Love my label maker!

The before of the wall unit...

And today with a few more red things.

Painted my Sew Many Ways...

and added some plastic popcorn bins to hold scrap fabric in the same style.
Like 1930's in one, civil war in another, Moda in another.

Here's my desk. Moved it from the other side of the room and covered the blue cork boards.


You've seen this chair in a current post.
This is the best addition so far.
See I really do use those ideas!

Love my label maker!

The before of the wall unit...

And today with a few more red things.

Painted my Sew Many Ways...
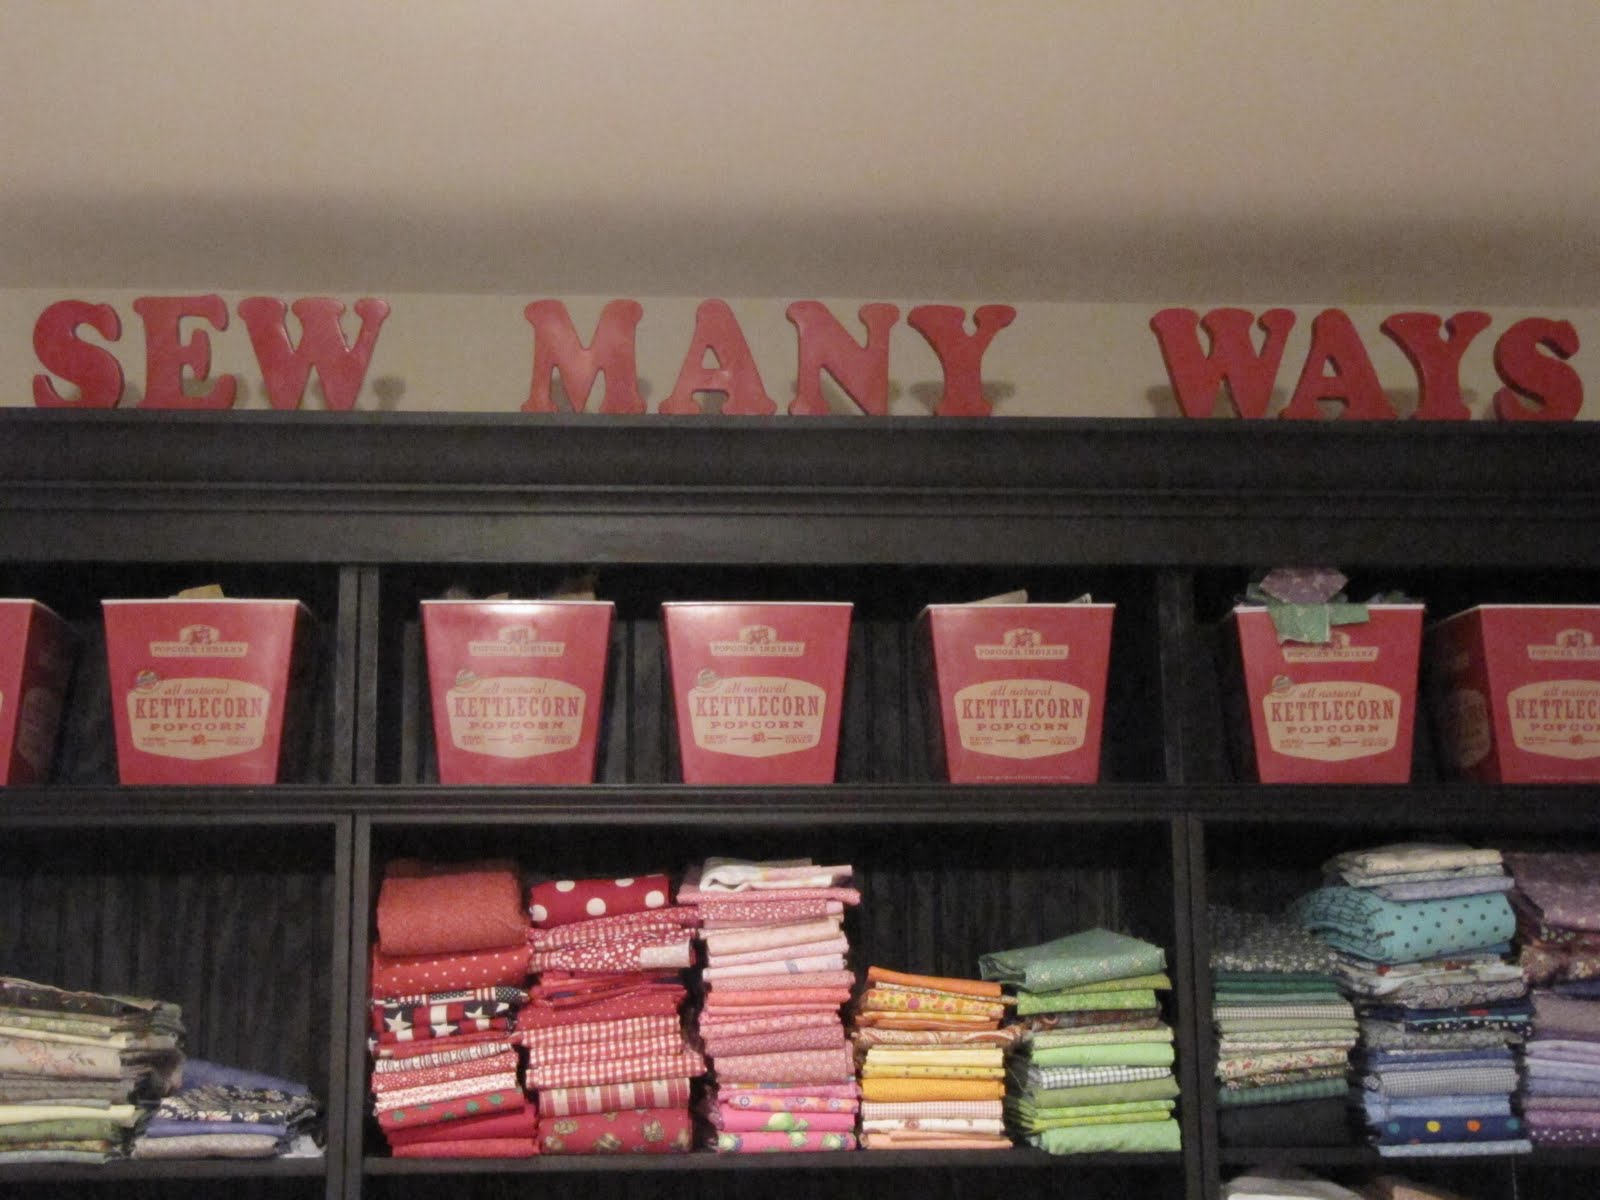
and added some plastic popcorn bins to hold scrap fabric in the same style.
Like 1930's in one, civil war in another, Moda in another.

Here's my desk. Moved it from the other side of the room and covered the blue cork boards.


You've seen this chair in a current post.
This is the best addition so far.
Everyone, especially my hubby, comes in and visits in this chair.

Next to the chair and on the back side of my cutting table


This is a price chart for postage all over the world.

An old leather brief case holds all my boxes and envelopes.
The cans hold packing peanuts and bubble wrap.
space

The third table is a crafting table...gluing, painting and all the messy stuff.
That's Hallie the cat sneaking around under there.
She's actually carrying a packing peanut around in her mouth.

Here's a old antique school desk for my GO cutter.

and here's my new desk that I just posted about yesterday.

I have a little tip for you. When you are sewing and need to iron as you sew,
lower your ironing board to your chair level...you won't have to get up!
A lowered ironing board also helps to hold the weight of your quilt as you are machine quilting.

Here are the last 2 pictures of my room a few weeks ago. My "keeping it real" photos!
I may be organized, label every thing and have every thing in it's place,

Holy Mackerel...what a dump. I won't even try to explain myself on this mess.
I do think I need a new philosophy though.
"FINISH ONE BEFORE YOU START ANOTHER"
This is my new motto

Next to the chair and on the back side of my cutting table
is an old sofa table that I painted black...what else!
This is my mailing center.
This is my mailing center.

I mounted a curtain rod to hold paper and all the tape.
Perfect scale to weigh the packages too.

This is a price chart for postage all over the world.

An old leather brief case holds all my boxes and envelopes.
The cans hold packing peanuts and bubble wrap.
space

The third table is a crafting table...gluing, painting and all the messy stuff.
That's Hallie the cat sneaking around under there.
She's actually carrying a packing peanut around in her mouth.

Here's a old antique school desk for my GO cutter.

and here's my new desk that I just posted about yesterday.

I have a little tip for you. When you are sewing and need to iron as you sew,
lower your ironing board to your chair level...you won't have to get up!
A lowered ironing board also helps to hold the weight of your quilt as you are machine quilting.

Here are the last 2 pictures of my room a few weeks ago. My "keeping it real" photos!
I may be organized, label every thing and have every thing in it's place,
but when I'm working on several projects at the same
time...my room looks like THIS!!
time...my room looks like THIS!!

Holy Mackerel...what a dump. I won't even try to explain myself on this mess.
I do think I need a new philosophy though.
"FINISH ONE BEFORE YOU START ANOTHER"
This is my new motto
space

I think I'm really going to try to act on this new concept of finishing something, now that I have a nice clean sewing room to start out with.
We'll see how that goes (wink wink)
~Karen~

I think I'm really going to try to act on this new concept of finishing something, now that I have a nice clean sewing room to start out with.
We'll see how that goes (wink wink)
~Karen~


