Showing posts with label Tool Time Tuesday. Show all posts

Tuesday, October 26, 2010

Tool Time Tuesday...Easy Casserole Carriers, Gift Ideas

This week's projects are helpful, quick gift ideas for the holidays. Are you familiar with the cooking show Semi-Homemade with Sandra Lee on the Food Network? She takes store bought items and adds fresh ingredients to make a great semi homemade dish.

Well, today these 2 tutorials are Semi-Handmade...purchased place mats plus your special touch with ribbons or fabric and they are turned into bread and casserole carriers. Great gifts for neighbors, friends, teachers and hostess gifts.

The carrier can be the gift itself or you can purchase a new casserole dish or bread pan and add your favorite recipe. Bake the bread in the pan, wrap it up in the new carrier and tie the recipe to the ribbon. A fast, easy and homemade gift that everyone will love!

The first tutorial is this carrier made with one place mat and some ribbon.


The second tutorial is a casserole dish carrier made with 2 place mats, ribbon or a strip of fabric.


Tutorial #1...I purchased this place mat new at a consignment shop for 75 cents, but if you look for sales on place mats you can buy them fairly cheap.


Have your place mat on your work surface the long side on the bottom and fold in half.


Measure all three sides and find the center...(don't measure the folded edge)


Mark the half way point on all three sides and both layers...see there are 2 pins on each side.


When you unfold it, there will be 6 points that are marked with pins.


Next, measure 6 pieces of ribbon 12 inches long. I used 1/4 inch wide ribbon, but any size will work.


Here are your 6 cut pieces.


I folded over the end a little so it wouldn't fray and to add some support when I sewed it to the place mat.


Pin all 6 pieces on the WRONG side of the place mat to each of the pre marked spots you had marked with the pins.


All 6 ribbons pinned to the wrong side.


Stitch back and forth a few times for strength.


All stitched on.


I baked this pumpkin bread in one of those aluminum pans to show you how inexpensive the whole gift could be. I bought that pan for 27 cents in a discount store. That bread looks a little dark, but it was delicious. I love anything pumpkin! Just place it in the carrier...


Tie the ribbons together and your little bundle of goodies are ready to give away...now how fast is this gift!


The side ribbons keep the pan from sliding out.


See the bread all safe and warm...


This is a perfect little gift to bring with you when visiting for Thanksgiving. However, Christmas is just around the corner, so find a Christmas place mat, a red or green one and bake a cranberry bread or a batch of cookies.


Here is tutorial #2...Casserole Dish carrier

You will need 2 place mats. You can't see that price tag, but these were $1.29 each. Woo Hoo!


I also used a strip of fabric from a Jelly Roll that I had. Jelly roll fabric is 2 1/2 inches wide by the full width of fabric (about 42 inches long). You could also just use ribbon or strapping.


If you are using a 2 1/2 inch wide fabric strip, just fold it in half, right sides together...


and stitch down the 2 long sides, leaving the end open.


Turn right side out.


Iron flat.


For the main handle you could add webbing or strapping for stability.


Take one place mat, fold in half, find the center and mark with pins.


Place your ribbon or the handle that you've made on the center marks and trim to fit the exact width of the place mat.


With the extra fabric or ribbon, pin pieces to the center of the short sides of both place mats and sew in place. Just as an FYI...I made mine with the left over strip cut in half, but they were too short. Make yours a little longer than mine. These will be the ties that keep the dish from falling out. You could also use Velcro.


Now place both place mats right sides together...make sure both ends with the ties are on the same side.


Sew on all three sides...not the opening end that has the ties.


Turn right side out and you are done...another fast project and so inexpensive.


Just slip in your casserole dish and you are off to the party!!


Tie it closed to keep the yummy food inside.


The thick quilted place mats keep the hot casserole dish warm too if you were bringing it to a dinner.


and off you go...


Remember, you can just give the carriers as a gift in itself. You can also purchase new dishes to add to it and bake something special to add even more.

With times being so hard for most people these days, fast and inexpensive gifts are welcome ideas, but I know most people really appreciate the time spent with a hand made gift...well Semi Handmade in this case.

Have a wonderful Tuesday,
~Karen~

Tuesday, October 19, 2010

Tool Time Tuesday...Santa Claus Can

Hello and welcome to Tool Time Tuesday. For the next few weeks or more, I am going to gear these TTT posts towards Christmas...maybe do some decorating posts or maybe gift giving ideas. I know it may seem early, but we all know those nights of making or decorating at the last minute. So why don't you join me in doing one or two crafts a week, so you can actually enjoy the holidays without all the rushing around.

Here is the first project for the holidays....A Santa Can. Make one this week for yourself and then make another one for gift giving. It's perfect and practically FREE!


Tuesday, October 12, 2010

Sew Many Magnetic Pin Holders...

Hello everyone. Hope you had a wonderful long weekend. Ours was great, but busy. I had so many posts I wanted to write up, but no time to do them, maybe Wednesday. After all...tomorrow is another day! (make sure you say that like Scarlett though)

Onto Tool Time...seems like I'm stuck on magnets lately. Last week's TTT was the magnetic business cards and this week you can turn anything into a magnetic pin or needle holder and I mean anything!

This package of 8 round magnets was $3.00 at a craft store.


Tuesday, October 5, 2010

Tool Time Tuesday...Magnetic Business Card Ideas

This Tuesday finds us back at Home Depot again. I think I'm there more than the fabric store!! I found these magnetic business cards in the key making section. I'm sure all hardware stores sell them. Carpenters, plumbers, electricians would use them to adhere their business cards to and then they become advertising magnets for the refrigerator. They also sell them in office supply stores, but I've said it a hundred times before...things are cheaper in the hardware store, because they don't know what they have. If they knew crafters and quilters were in there, they would raise the prices. Shhhh...don't tell them.


This box of 50 was only $10.00. They are much more in other stores. They could be cheaper online, so shop around. All you do is peel away the paper and stick on your business card, maybe from your blog or etsy shop. However, you know me...I'll think of something else.


You can really just use regular paper or card stock with your own design, but I thought I would show you the world of packaged business cards for your printer. I might do another whole post just on the uses of business cards (because I have a lot), but these instructions are for printing for the magnets.

Business cards come in many different styles and colors.


White, cream...


and many, many more!


Here are a few close-ups.


If you use business cards for the computer, all you do is print, peel and stick.


Here is a quick tutorial for using Microsoft Word. Click on it from your desktop.


Once Microsoft Word opens, click on MAILINGS at the top.


Then click on LABELS at the left.


A pop up window appears that looks like this. At the bottom middle is an OPTIONS button.


Click OPTIONS.


Find out from your package of business cards what your template number is. This one is Avery 8371.


In that OPTIONS window, you will scroll down to find your template number.


Click OK...


At the next window, click NEW DOCUMENT, down there at the bottom.


The template that matches your business cards will appear.


Just type and print. There are a few adjustments if it's your first time....like centering, size of fonts etc. So when you are ready to print something, print on plain piece of paper then hold it up to the blank sheet of business cards to make sure the print is where you want it. Then print on the business card sheet.


Print away. Try to use the whole sheet, so you don't waste any cards like I did here.


Here's a close-up.


Separate on the perforations...


Peel paper away from front side of magnet.


and stick the card on.


Here it is on my magnetic memo board in my sewing room...see it on the bottom left. Right where I can always see it! The tutorial for the memo board can be found HERE. There is also a tutorial for those take out container on the bottom right HERE. I use those to store tiny things.


How about a fabric magnet to match your kitchen or craft room. The magnets are 2" x 3 1/2". Easy and great gifts too.


Too cute!


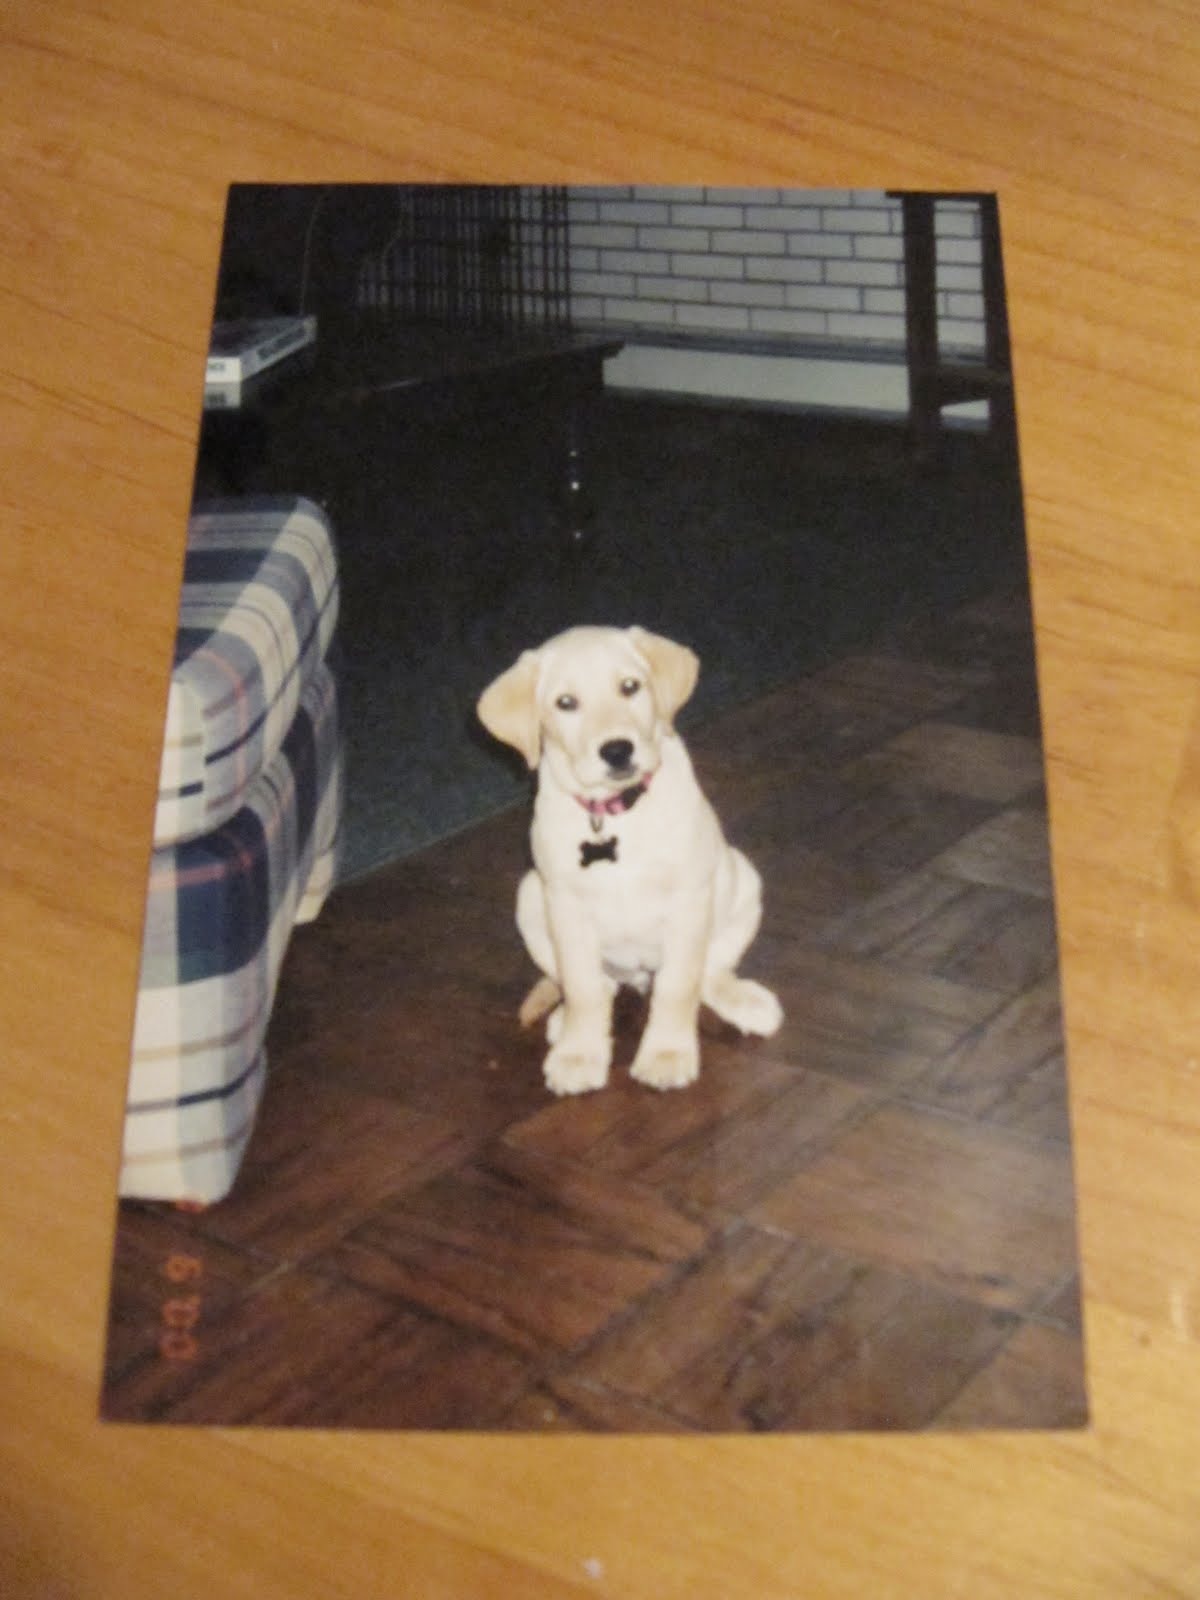
A picture magnet is another great gift idea or just a cute addition to your frig. Here's Annie 10 years ago.


Trying to center the picture on the magnet can be tricky, so take a piece of card board and trace your magnet.


Cut out the center of the card board.


Now you have the perfect "window" to trace around your picture.


Cut out along the pencil line.


Peel and stick.


and here's Annie, as a puppy, on the refrigerator.


The cutest magnet to hold up her reminder card for her vet appointment.


There are so many other uses for these magnetic cards.

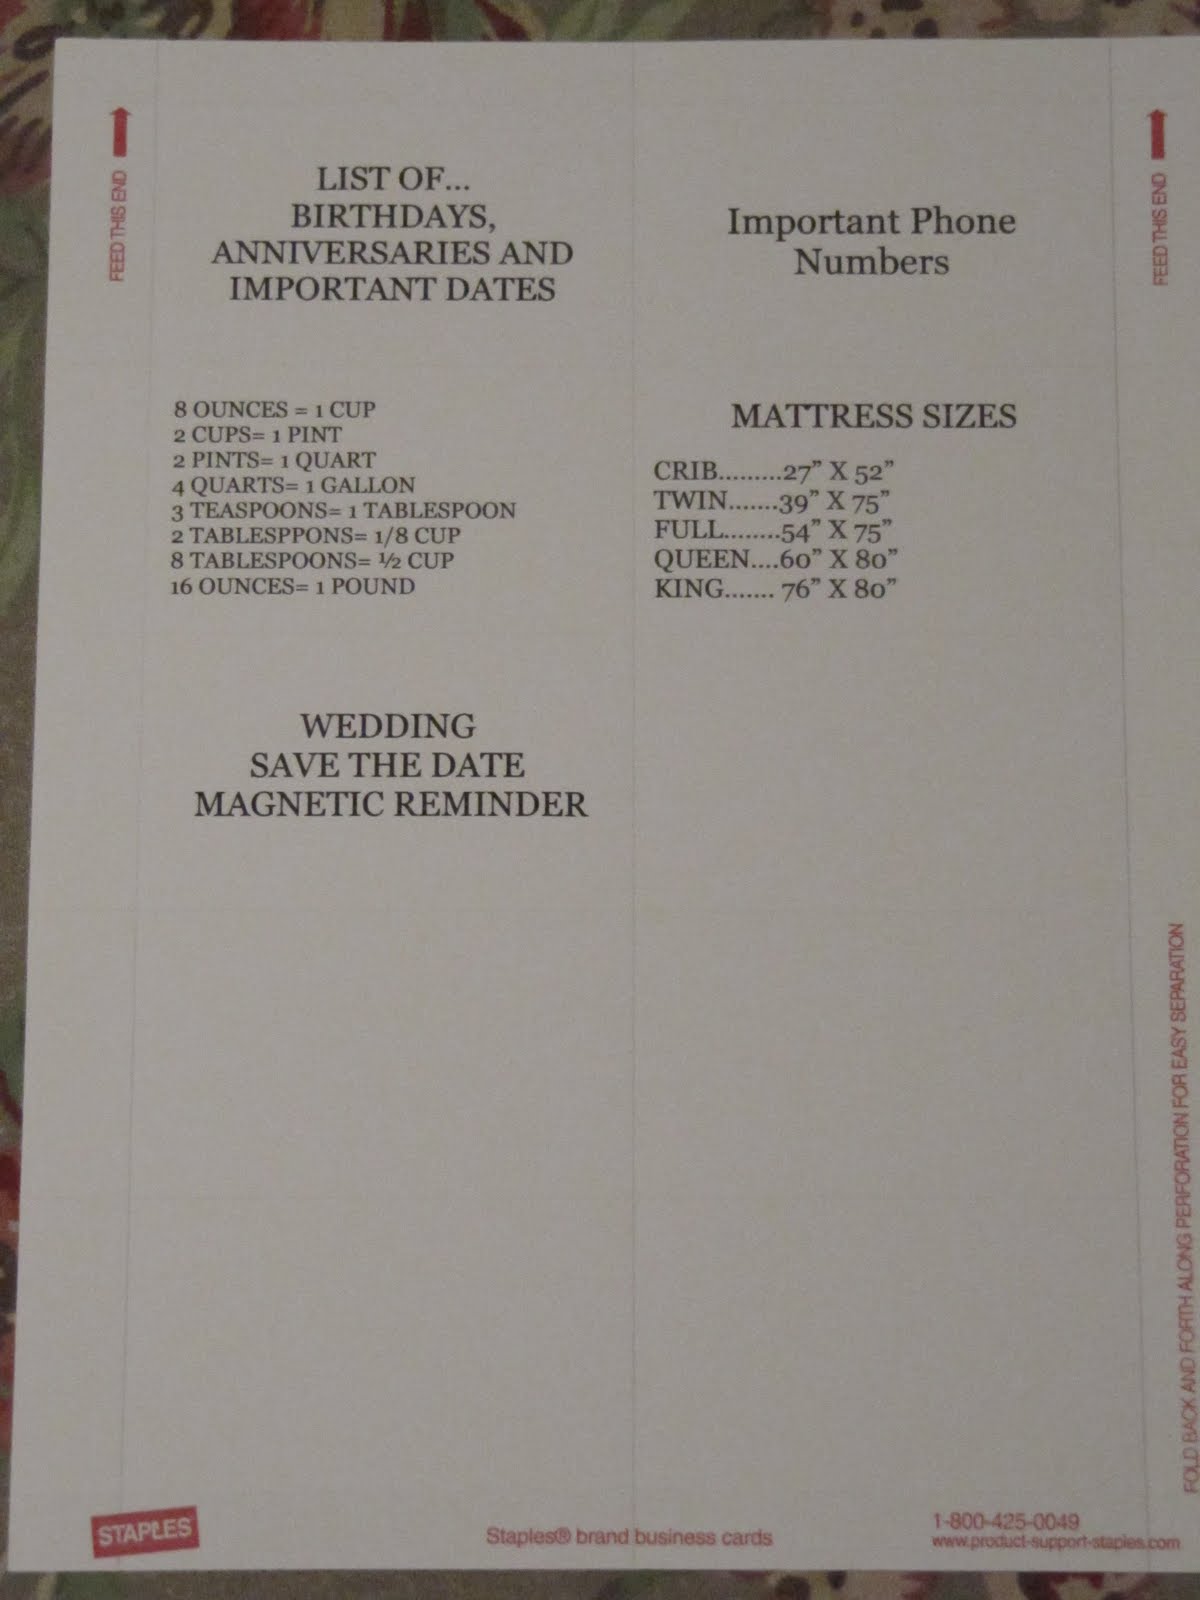
How about all those important phone numbers.
  • great for the baby sitter
  • emergency numbers for your child to have with a quick look at it on the frig at his/her eye level
  • important numbers for your school aged child and it will stick inside their LOCKER!!


A list of all those important dates...a great quick reminder when they are always there at a glance.


How about sending a beautifully designed magnet as a SAVE THE DATE card for a wedding. There are so many beautiful business cards just for weddings, this would be perfect.


and how about your favorite MEASUREMENT EQUIVALENT CHART. You can design the one you would use the most.


The ideas are limitless for these cards. I have another idea in the works. If I finish it this week, I'll pass it on.

If you have any ideas and want to share, just let us know in your comments.
space
Remember...always think outside the box.
space
Happy Tuesday,
~Karen~
Related Posts Plugin for WordPress, Blogger...

LinkWithin

Related Posts with Thumbnails