The Orange Peel die is an appliqué die, so the quilts or projects go together very quickly. Today, I am showing a couple ideas and placements, but I also have a few "unconventional" ideas using the die up my sleeve. I was trying to complete the unconventional project for this post, but you know how life gets in the way! I'll definitely share that one soon.
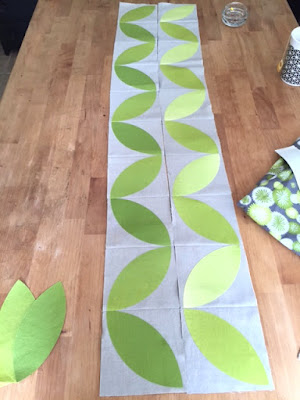
Here's what I made for today's post...a table runner. I also need your help at the end with how to finish the edges.
Come on in to see a few tips using the die and making projects of your own...
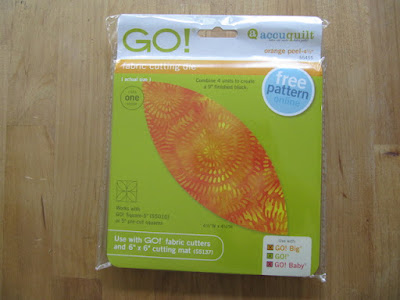
The die itself is 6 inches square, but the actual orange peel shape is 4 1/2 inches.
The 4 1/2 inch peel size is perfect for your 5 inch pre-cut charm packs!
You can use your 5 inch squares for either the background square or the orange peel.
Solids work great for either shape too.
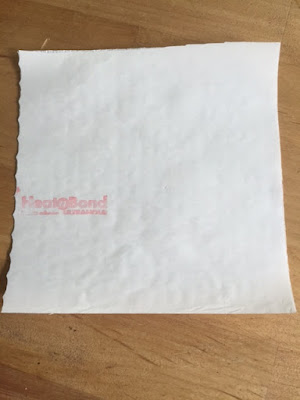
To appliqué the orange peel on the 5 inch fabric squares, you will need Heat and Bond. This picture is of the ultra hold, but I'm sure lite bond will work great too.
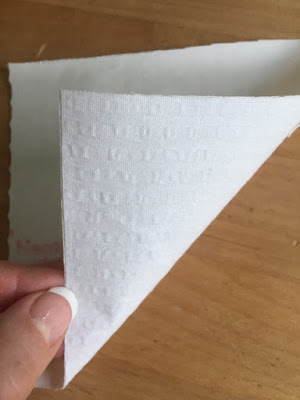
If you are using the pre-cut 5 inch squares for the orange peel, you will need to cut the Heat and Bond into 5 inch squares. Then you will iron the Heat and Bond to the WRONG side of the squares according to the package instructions.
Here is the front of the fabric with the paper on the back.
Now take the die...
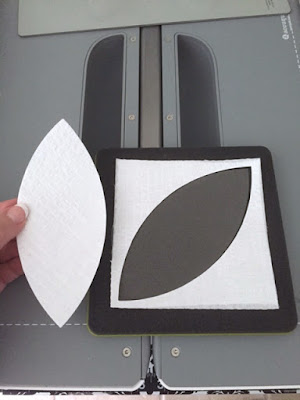
and stack 4 squares that have the heat and bond on the back. Normally you can cut up to 6-8 pieces of plain fabric, but the paper is a little thick.
Add the cutting mat to cover and send it through your cutter.
Seconds later...you're done!
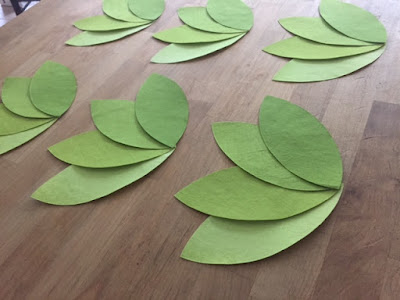
Perfect Orange Peel.
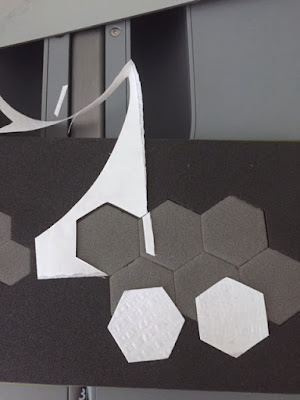
Ok, you know me and not wasting anything...I'm seeing a lot of unused appliqué shapes in there.
Perfect for the smaller hexagon die cutter.
Now I can iron them on and appliqué these little hexagon beauties to anything!
These are in white, but just imaging them in the cutest little prints.
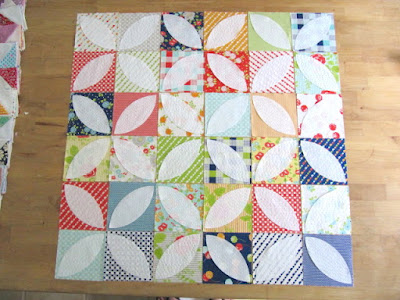
Back to the orange peel...Here is a layout using a 5 inch charm pack for the background. Adorable fabric... Happy Go Luck from Bonnie and Camille by Moda. Love the colors.
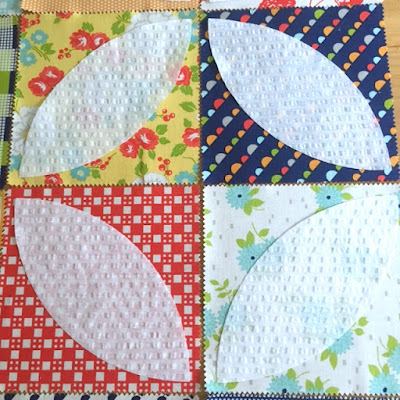
Here are the blocks with the white orange peels.
Two shapes pop out from the pattern when you look at it differently.
One is a circle...
The other is a flower.
Here is the main project I made. This fabric is ombre and perfect for the leaf type pattern of the orange peel die.
This fabric is from my stash and I am so happy to use it with this project. It's Simply Color by Vanessa Christenson of V and Co for Moda. I love everything Vanessa designs for Moda. Such colorful and happy fabric!
This is my tip for ironing on the Heat and Bond for a much faster process with cutting the squares for the orange peels.
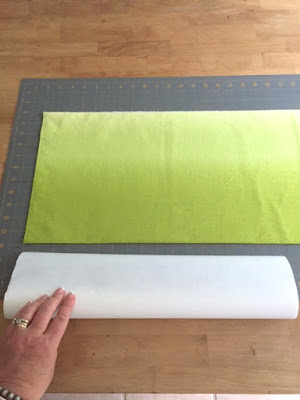
Iron and fold your fabric in half and then in half again, just like normal. Now take your roll of Heat and Bond and measure the width of the roll. Mine is 17 inches. Cut the fabric at 17 inches too.
Now place your length of fabric on your ironing board with the WRONG side up and let it drape to the floor. (I placed a scrap piece of muslin on my board just in case. I don't want to get Heat and bond on it.)
Now line up your Heat and Bond roll evenly with the top of the fabric and the sides.
Start to iron from the top and work your way down. Make sure your fabric is flat and no lumps or bumps as you move along. You might want to iron out the folds in the fabric first.
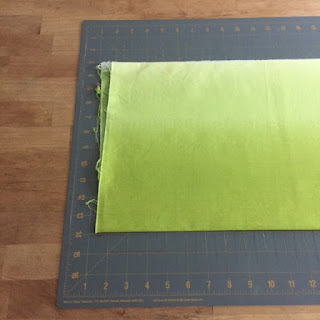
This is the fabric (full width from selvedge to selvedge) with Heat and Bond ironed on the back.
Fold the fabric in quarters again and iron flat with the paper still on.
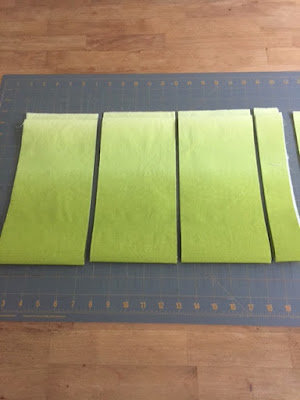
Rotary cut the left edge just to clean it up and square it.
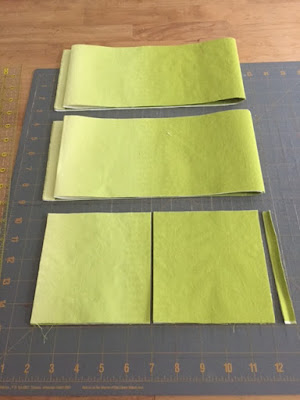
From the 17 inch wide piece, you can get 3 strips at 5 inches wide with a bonus strip of 2 inches.
This long bonus strip is perfect for appliquéing leaf stems.
Now back to cutting...take your 5 inch strips and cut them into 5 inch squares. Now you'll be ready to cut them on the orange peel die with the usable web on the back!
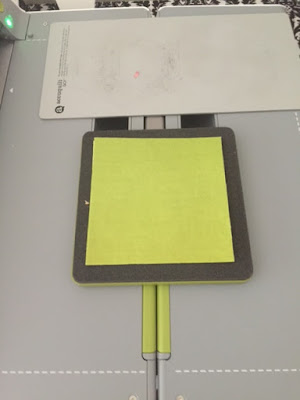
4 squares at a time...
Stack them over the orange peel shape and cut away!!
Done...
Just look at all those beautiful ombre orange peels (or leaves in this case..lol)
Now to iron them on the 5 inch background squares.
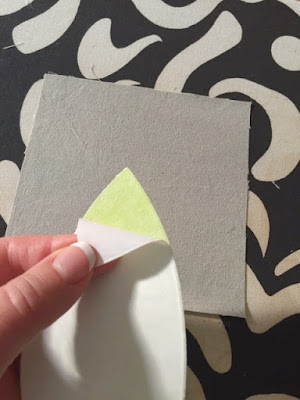
Peel off the backing paper.
Then position the 4 1/2 orange peel shape on the 5 inch square.
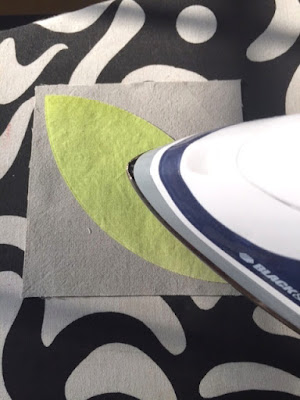
You really have to "eye" the corners, where I'm pointing. Just make sure each point is even on both corners (1/4 inch from the edges.)
Press according to the directions.
So pretty and FAST!!
At this point you could either appliqué stitch around the edges by hand or machine. "Sew" many stitches to choose from. This is my first time, so I'm not sure if it's better to appliqué the edges individually or when the squares are assembled as a whole.

The placement is totally up to you...so many options and colors to chose from.
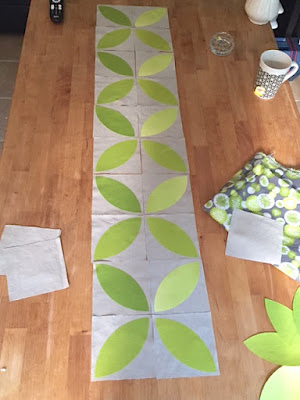
This is a table runner.
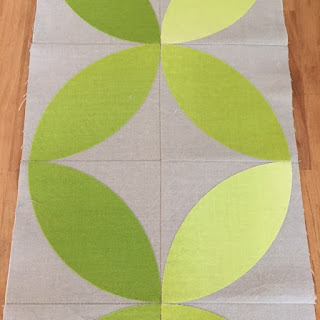
This creates the flower and circle pattern. That extra block at the top of the picture is the perfect size for a small pillow too! Four of those shapes will make a larger pillow.
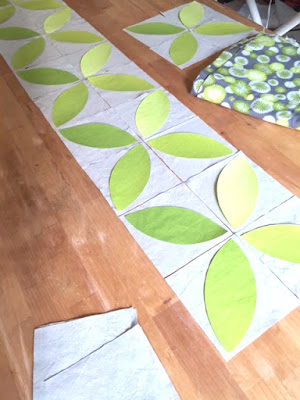
Here is one row turned in the same direction as the other.
and here is one option with the rows facing an opposite direction, creating flower petals.
This is where that long piece would come in for a stem going right up the middle.
You could also just appliqué the orange leaf without using the 5 inch squares. Just iron them on a larger background piece of fabric in any shape.
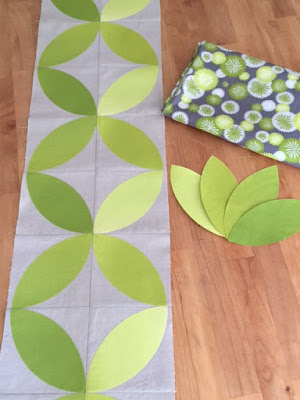
This is my table runner all sewed together.
This was the fastest project!
The colors are beautiful in this fabric. The crisp modern look of the gray linen is the perfect background to pop the green.
Here's where I need your help. I have the coordinating fabric from Vanessa. I want to use it for the back of the runner and the binding.
My question for you is...
Do you think I should use a wider border on the table runner as shown here...or
use the thin look of just the binding fabric. I'm only laying the table runner on this fabric so you can see the difference.
What do you think? Thick or thin?
Thanks so much in advance for your help!
Thank you too for stopping by and I hope you love the Orange Peel die as much as I do...it is awesome! Click HERE for the quilt pattern from Accuquilt using the die
Stay tuned for the other project I have in the works with this die...and a little clue...no sewing at all!
Take care,
~Karen~



























I like the smaller size boarder. Looks great. I have the orange peel die Already ordered it should be here in a couple of days. Can't wait to try it. Keep up the good work.
ReplyDeletethanks for the tutorial--my orange peel die just came in the mail today--and I can see some Christmas table runners in red and green going on my "to-do" list. Hugs, Julierose
ReplyDeleteI prefer the wider border. Depending on the size of your table, it seems that a 9" runner is a little too narrow with the length that you have. Just my opinion. Thanks for the tutorial. Love Accuquilt.
ReplyDeleteMarge
I personally prefer the thin boarder. The orange peel look more beautiful.
ReplyDeleteHave a good day.
I'm concerned about your using Heat 'n Bond on the back. I no longer use heat 'n bond only because it gums up my needle when I stitch through it. I'm making an orange peel quilt but using a fusible backing that I can snip to turn my petals then I fuse them onto my backing squares followed by sewing a blanket stitch around the petals. It's time consuming but doesn't gum up my needle. Nice summer project.
ReplyDeleteI like the thicker look.
ReplyDeletelike both. If I had the die I would make one with each. The thick border brings the overall design into focus. the Thin border frames it and draws you eye to the middle.
ReplyDeleteI love orange peel quilts! They're one of my favorites and I'm sure this makes it go so much faster.
ReplyDeleteI vote for thin. With the thick border, I left the patterned back fabric competed with the orange peel pattern. With the thin border, I felt that it was more complementary. My 2 cents. Love your blog!
ReplyDeleteWhat a wonderful gadget! Perhaps someday.... I have to differ from Kathleen and say that I like the wider border. You will need a tie breaker. LOL
ReplyDeleteOf the 2 choices here, I like the smaller border. If it were me, I'd go for a double border--a thin band of solid navy blue on the inside and a wider band of the blue floral. Gotta add one of the Accuquilt cutters to my wish list.
ReplyDeleteI LOVE the larger border as it really sets off the green orange peel.
ReplyDeleteI thought the Ultra Heat 'N Bond was for craft purposes, not to be sewn through? I know you can't get a hand needle through it...made that rookie mistake once. I only use the Lite when absolutely necessary, and then as little of it as I can get away with. Misty Fuse is a favorite of my sewing group.
ReplyDeleteI like a wider border, maybe with the ombre green or gray binding. Vanessa will love this! Tag her on instagram so she'll see it.
ReplyDeleteI like the smaller border.
ReplyDelete