I thought I would share this with you for a future project you might have.
How to remove those little plastic inserts that secure a screw into dry wall.
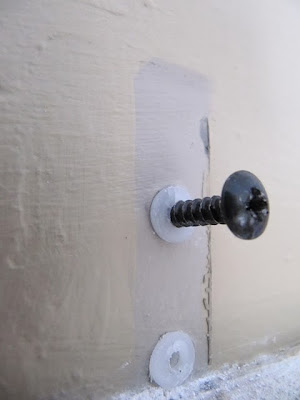
You know these little things…
Here is a picture of some of the old inserts. I've already removed the metal curtain rod bracket.
To remove the plastic inserts, re-screw the screw back into the insert about half way. I tried to word that better, but just doesn't flow nicely.
Now, take pliers and gently turn and pull on the screw head.
It should start to loosen the plastic anchor.
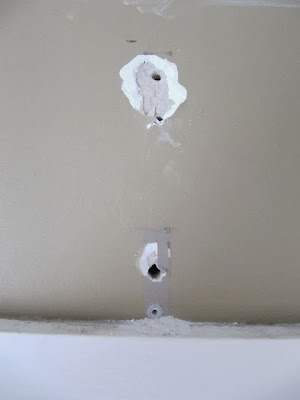
It should remove cleanly like this.
Sometimes, not so nicely.
What the heck…it's like I took a sledge hammer to it. That's the problem with a house built in 1976 that has all plaster walls.
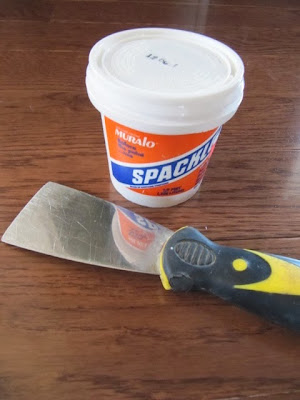
Spackle to the rescue!
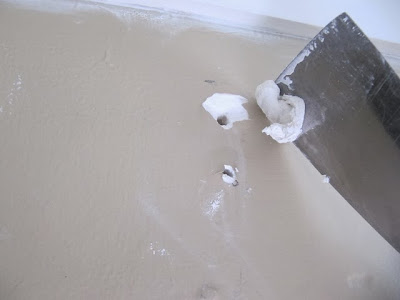
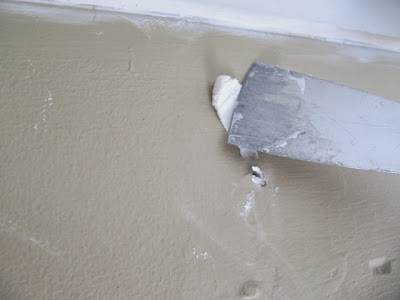
Just use a spatula to fill in the holes.
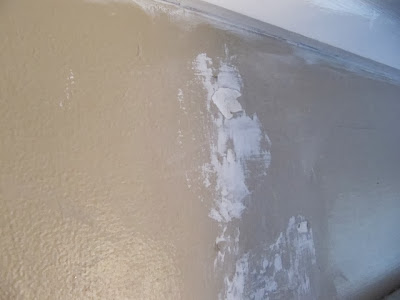
Fill in and scrape it flat.
Let it dry…
Then sand. For larger holes, you may have to fill them in again.
Now you're ready to paint. I left in that bottom anchor in there. It was going to be too much plaster coming off and I didn't want to have to patch near the wooden window frame. You won't see it behind the curtain and the top of the window is up too high anyway.
Store this away for your future painting projects or "Pin It" when you need it another time.
Hope it will be helpful!
Thanks for stopping by,
~Karen~






You know what we use to fill those pesky holes? The larger sized syringe with the plastic spouts that oral surgeons give out to swish the food out of surgery sites. They are opened enough to allow the compound to come out and then you make sure the hole it covering the entire way back. It helps when you go to make another hole that the patches ones nearby don't crumble out. I love reading your stuff, I actually do look daily. My laptop was giving me a buggar of a time, I told the IT guy, I go to Sew Many Ways daily I know when she updates and mine was saying last Sunday, and yesterday was Friday. LOL
ReplyDeleteExactly the information I needed. Our office manager always made us put a strip of scotch tape on the wall before any type of nail. She claimed it stopped the cracking when removing the nail. She also cut a small inverted V in the wallpaper and folded it down, inserted the nail in the bare spot. Then flipped it back up and glued to the wall when the nail was removed. Thanks for the info!
ReplyDeletePerfect timing Karen! I'm just in the process of decorating my new sewing room (which used to be my son's room) and there are tons of these little guys to be removed. As a matter of fact, I've borrowed a number of your ideas for my sewing room. Thanks so much and keep em coming. You are a genius!
ReplyDeleteGosh I so needed this a couple of months ago when I made and installed new window treatments at my daughters college apartment... removing all the old damaged screw anchors first! Thanks Karen! PS btw do you have any good tips for installing new plastic screw anchors? Mine kept breaking and didn't seem to go in well.
ReplyDeleteAre you sure you weren't going into a stud? I've only ever had problems putting them in when there has been a stud in the way.
DeleteThis comment has been removed by the author.
ReplyDeleteGreat tip, Karen. I always have a problem AFTER I have removed the anchor (plug), spackled the hole in, sanded it and then painted it. I can always see where the hole had been even though it was sanded well and painted a couple of times.
ReplyDelete