This tutorial is more of a concept, because your boxes will be different sizes, but in any case, it's a great way to recycle boxes and have a pretty storage solution.
Gather up your boxes and fabric and let's get started.
My first suggestion is to collect boxes that you might have or use in your home all the time. That way your boxes will look uniform.
The box below is a Propel water box. My daughters drank Propel all the time...not much any more though. They drink plain water now which we buy in larger cases, so that's a new source too!!
Collect boxes in the same size and shape, so when you display them in cabinets or on shelves, it looks like you purchased them in a specialty store.
Your boxes might be...
- diaper boxes
- soap boxes
- cases from bulk canned goods
- shipping boxes
- shoe boxes
- tissue boxes
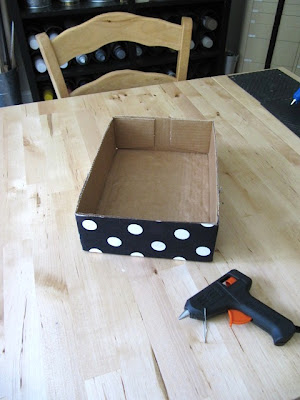
I cut my fabric to fit the height of the box plus 1/4 inch.
I hot glued my fabric on the box along the top and bottom edges.
You can also use spray adhesive glue, Modge Podge which is a glue and sealer in one or the hot glue that I used.
You can wrap the fabric all the way around...
or cheat like I did when I ran out of fabric and didn't want to buy more...Lol
I only cover the parts of the box that you would see on the shelf!!
I matched the top edge of the fabric to the top edge of the box, but you can wrap the fabric to the inside of the box if you'd like.
For the bottom edge, I wrapped a 1/4 inch to 1/2 inch of fabric over to the bottom and hot glued it in place. This helps to keep the fabric from fraying when I slide the box in and out of the shelf.
Now to add the handle...
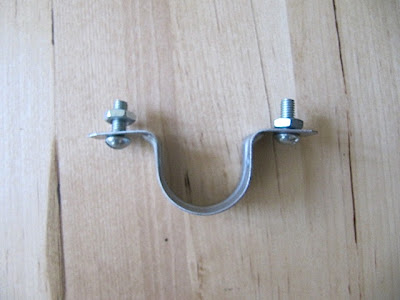
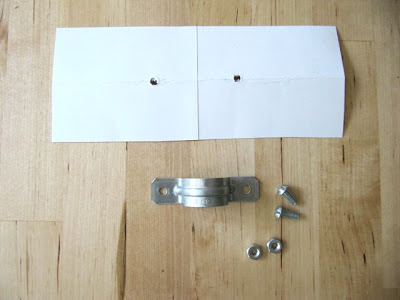
You can add a store bought cabinet handle, but I used pipe straps from the hardware store!!
This whole bag of 10 handles was only $2.00!!
You know those straps that hold up conduit pipe in your basement ceiling.
The bag of straps don't come with the screw and nut, so you might need to buy a bag of those too.
To add the handle, you 'll need a template to make the process easier with multiple boxes and keeps the handles uniform on the box front.
Cut a piece of cardboard to match the front of your box.
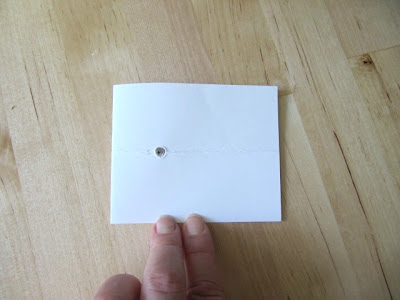
Mine already has the holes in it, but here are the steps to make your own template.
Take your template of the front of your box and fold it in half...left to right and make a crease.
Then fold it in half again bottom to top.
Mark the screw holes with a pen.
Now poke out the screw holes with something sharp.
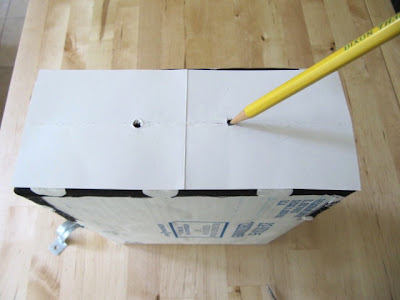
Place the template back on the front of your box and mark the holes with a pen or pencil.
If you have dark fabric, use a piece of chalk.
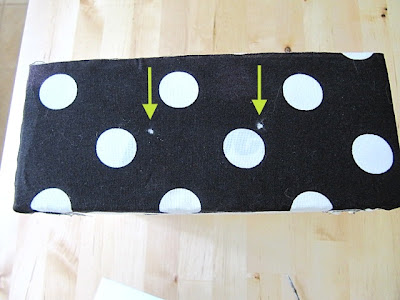
Take something sharp and poke out the holes you marked.
Your screws should match perfectly.
Push the screws through to the inside of the box.
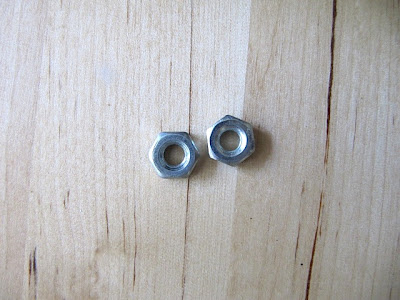
Take your nuts and twist onto the screw. You may need to tighten with a screwdriver.
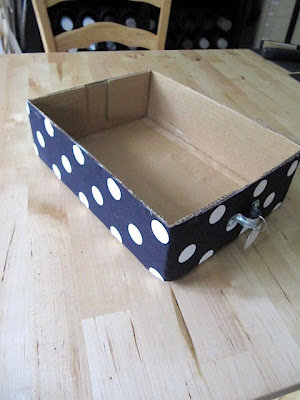
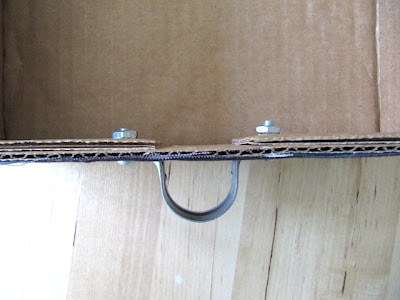
Here's a top view of the attached handle.
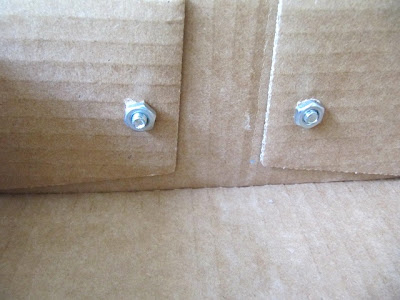
and the inside view of the box.
Done!!
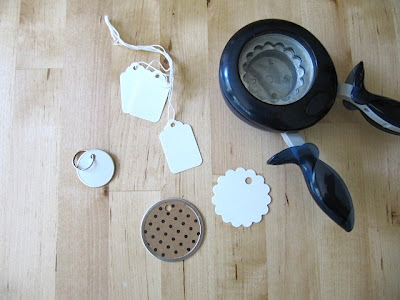
You can add a hang tag to label what you have in your box too.
I used a key ring that opens with a hinge to add the tag to the handle.
I have them in an old hutch to organize office supplies.
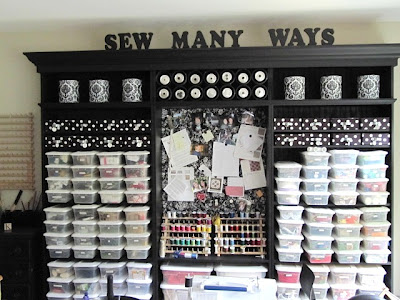
and in my sewing section to organize fabric scraps, projects and things.
I have pre cut scraps in these boxes for a quick grab of 2 1/2 inch squares or strips. You can also organize your scraps by color too!
The other boxes are for unfinished projects!!
These boxes are great for so many things...
- spices in your kitchen
- food pantry
- jewelry
- bathroom items
- medicine cabinet
- crafting
- scrap booking
- sewing
- kids' toys
- clothes closet...socks, belts, scarves etc
- holiday items
The possibilities are endless!
Have fun covering your boxes and organizing your home...one little spot at a time!
~Karen~
















And I've been throwing these boxes away. Not anymore. Thanks
ReplyDeleteOh, this is fantastic! thanks for the tute! I love repurposing things.
ReplyDeleteSuper fabric box tutorial thank you for sharing, it looks like you have bought it from a shop so nicely done.
ReplyDeleteJulie.C
p.s. thanks for helping with my email subscribing instructions on my blog.
Cute, cute, cute!!
ReplyDeleteThanks for the instructions. The only thing I might add if the box is filled with heavy things, is to use washers between the nut and box to reduce the chances of the handle pulling out over time. Especially if you use a knob. Even cutting a piece of plastic from a milk jug would work.
ReplyDeleteVery good tutorial, thanks for writing. Now the only problem left is to find boxes with same size. I thought about diaper boxes, but it feels like the sizes get bigger nearly from one week to another... ;-) I really like the idea with the pipe holders, this fits so well to your style.
ReplyDeleteI cannot get over your organization abilities!!! I wish I could just come pick up the hutch already organized with fabric covered boxes, bins, etc. I guess I have work to do!
ReplyDeleteLinda
mysewwhatblog.blogspot.com
If only I could have more time to make all the projects I like...
ReplyDeleteMy craft room is still completely to be organized, now I just have one table to cut the fabrics and one for the sewing machines, no storage shelves, everything messy, but I'm working full time (full free-time) on my wedding dress, so those cute boxes will have to wait!!!
Loooooove!!!!!
ReplyDeleteHello Karen!
ReplyDeleteIt's very beautiful
I am going to make a box now!
kisses for you
Cleide Peres
YOU are just full of surprises, Karen. What a wonderful organizer you are.
ReplyDeleteThis is a great idea! I can't tell you how many organizational boxes I have looked at in the stores, but refuse to pay so much money for them. These are so much nicer! Love it! I will search til the end of the earth for the right size boxes and make this work for my workspace!
ReplyDeleteWhat a great job Karen, I just love it. Not only is it utilitarian but it's beautiful. Love it! Thanks for sharing.
ReplyDeleteLovely idea with the handles - quite brilliant. Amazing what a bit of fabric can do to brighten a box or storage corner.
ReplyDeleteAwesome project. Thanks for providing the very detailed tute. I think even I could do this.
ReplyDeleteYou really are a genius...you know that? right? Thanks for the wonderful tutorial...and I am going to get some of those handles at the hardware store today. Coolest thing I've seen in a long time.
ReplyDeleteIt looks so neat. That's what I like. What are the solid black drawers under the fabric covered drawers in the OFFICE picture? Do they hold a sewing pattern? Thanks for sharing.
ReplyDeleteVery cool! Love the black and white!!!
ReplyDeleteThis comment has been removed by the author.
ReplyDeleteVery nice job, and it looks good! Simple, sweet, cute, and constructive:)
ReplyDeleteKim
LilacsNDreams
Love it, this will come in handy in so many places. thanks!
ReplyDeleteVery nice and just in time for me to get organized !
ReplyDelete