

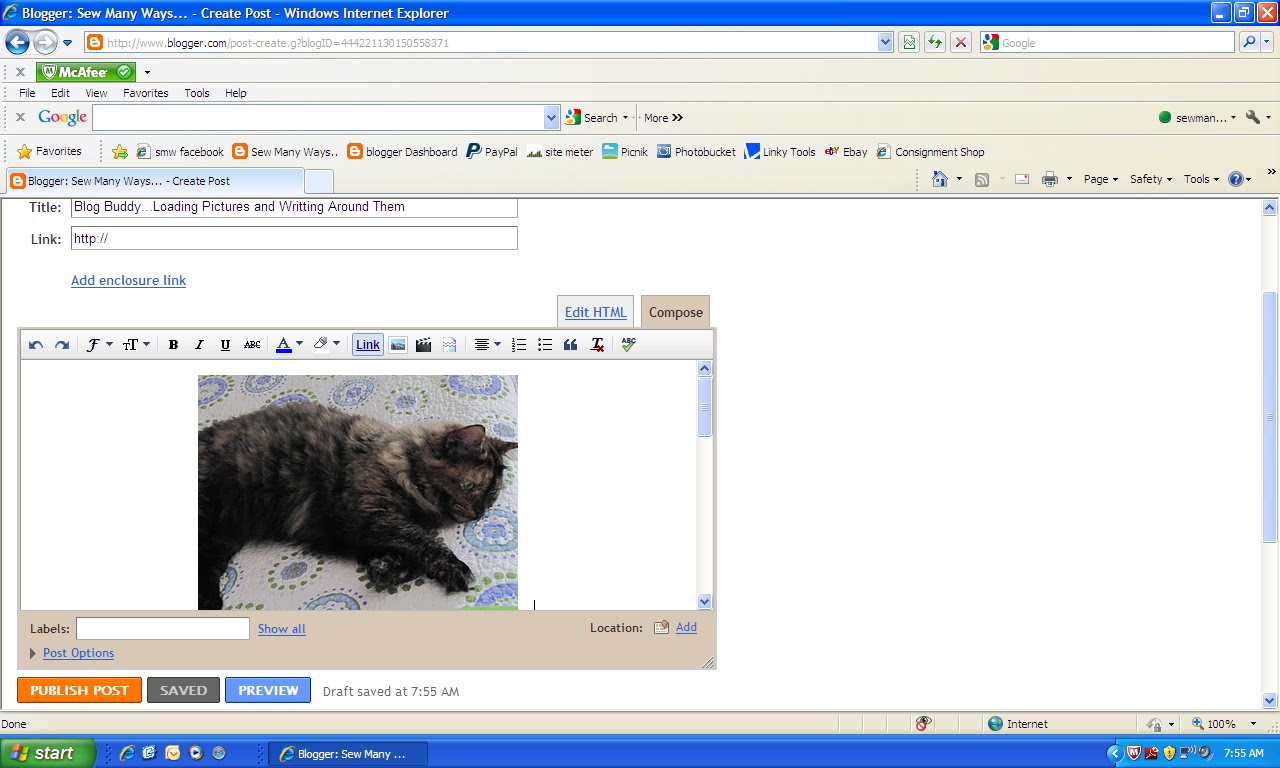
I've had so many emails asking to describe how to load pictures onto blogger and then type your post around it.
I've seen many blogs where the pictures are on one side or the other or in the middle and then the print goes up the side and over and around the picture. Blogger can be frustrating, but it is so much easier from when I first started!!
This is the method of how I do it and I'm sure there are many other ways, but it's like second nature for me now. Read below and just fool around with a practice post and see how things work.
First here are the basics for loading pictures. Click on the pictures below to enlarge them more to see better.
Click the "picture" of a picture circled below...

I use the "Browse" button to load pictures from my computer...

A file window will pop up...click the file you want to enter, then click open...

Then select the picture from the file you want to insert on your post and click "open" again...

All the pictures you select will be on that browse page and they will be high lighted in a blue border...If you want them, then click the bottom right button that says "add selected".

If you don't want one of the pictures, just click on it and remove the blue border...like the picture below...

Another tip once the pictures are loaded is where you want them on the post and how large.
Click on the picture and it will turn blue. Below you can select...left, right or center and the different sizes. I always pick medium for my regular pictures, but these are large so you can see the detail in the computer screen.

Now to start writing...
I always like to say something in the beginning as an introduction to the post. Place the cursor of your mouse at the bottom LEFT corner (circled below). I click the word "ENTER" a few times. That brings the picture down a few spaces from the top to give you room to type.

Scroll up to the top and start writing. The cursor is automatically in the center.

I just type what I need...but if you want it aligned to the left...

High light the sentences and then click the ALIGNMENT button circled below. I always align left.


Now just place your cursor between the next two pictures an press "ENTER" to open up the space to write.

In the picture below, you can see more space is created for writing or just to open up the pictures.


At the end of your post, if you there isn't enough space to say good bye and sign off, just place your cursor at the bottom RIGHT corner and click a few times to open up space at the botom of the page to write the closing.


Hope this helps. I know some bloggers write their posts in other forums and then insert them in here, but once I have a system down and don't any problems...I'm good to go.
You can share what you do in your posts in the comment section
Good Luck,
~Karen~

Thank you, thank you, thank you.
ReplyDeleteIncredible! You just solved one of my biggest problems..getting text to align to the left after I post a picture. A thousand times..Thank You! Toni
ReplyDeleteLove your turorials...wished I would have had them last January when I started my Blog. I like so many other frustrated people had to go the Trial and error route.
ReplyDeleteI learn something everytime I read your tutorials. Thanks so much for them. Keee them coming.
Dee B
Have you ever tried Windows Live Writer? It's free from Microsoft. It's so much easier to do a blog post, for me anyway. My pictures load so much faster than they do on blogger. There are so many options for displaying the pictures, too.
ReplyDeleteThanks for all the wonderful tips you give.
I use Windows Live Writer too....much faster to load and so many more options!!! worth a try....and it's free!
ReplyDeletesugary hugs
Wendy :O) XO
Thank you so much Karen! I never could figure out how to get text above the first photo in my posts.
ReplyDeleteI just go the the HTML view to position text between, above, or after the photos. No chance of having something not move the way you want it to. It's also handy if the photos aren't in the order you want, just do a bit of cutting and pasting to move them around.
ReplyDeleteI use an Apple and your technique. Except that I add photos as I go rather than prior to the writing. Could you please explain the "create a Link" near the comments section. I don't know why I would do that and what the consequences are if I do. In fact I don't understand it at all, but sometimes I find people have linked to my posts there, rather than in their posts. What is going on?
ReplyDelete